Forever Fishbowl

Excited to share with you a project recently dreamed up, designed, created, and of course, constructed in our very own downtown art studio! Take a BIG splash into our ~ DIY Forever Fishbowls! This project was created, carried out, and creatively constructed in several of our mixed age, six-week, after school, hands-on + mixed media, art workshops creating with young artists!
Beyond excited to also announce hands on + mixed media + NEW ART WORKSHOPS START NEXT WEEK for a wide array of ages! Hop on over to ENROLL AT HANDMAKERY.COM as spaces are quickly filling! While visiting, peek at new photos on our site and IG feed!

As you can clearly see, artists used a wide array of mixed media to bring their vision to life! Below, you’ll discover all you need to create your very own ~ DIY Forever Fishbowl. The big + beautiful bonus, you’ll never send a fish into fishy heaven, EVER EVER EVER again. YES, this fishy will truly live F-O-R-E-V-E-R and children LOVE this fact! Like, XOXOXO times a million or LOVE for a lifetime!
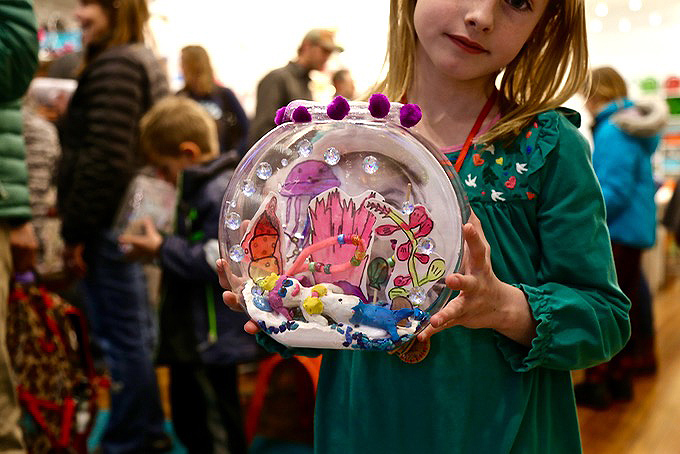
Don’t you just love this little mermaid basking on the beach? So proudly displayed by this mini maker with creative confidence in her colorful community. On another note, beyond excited to be featured this month in the Roaring Fork Lifestyle Magazine as the Featured Feed! @HANDMAKERY was included in some of the Valley’s most creative makers on Instagram! Yes, we’re blushing!
This children’s art studio in Carbondale is a must-follow account filled with colorful snaps of mini-locals who create, paint, craft, drawn, and sprinkle joy. #handmademagic
-Roaring Fork Lifestyle Magazine
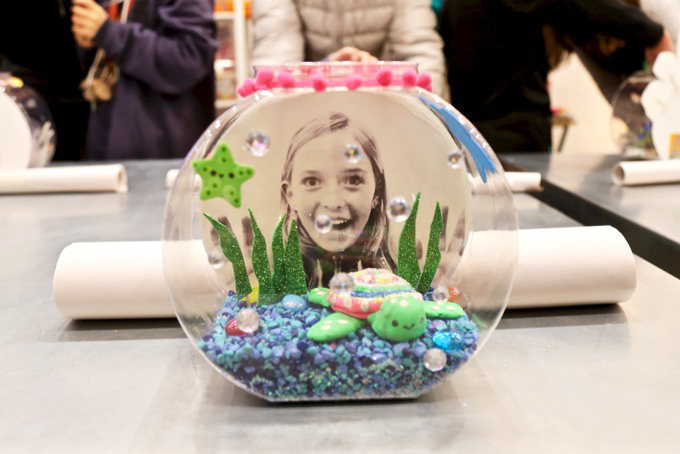
There is no doubt this project was LOVED by children of all ages! We had artists ages 5+ designing dreamy fishbowls, creating incredibly unique creatures, and building the most clever habitats! The beauty of process-based art, you ask? This playful process provides endless possibilities and open-ended opportunities to experience a wide spectrum of mix media. Children absolutely LOVE creating small worlds that come alive through imagination, yet totally tactile with tons of tiny parts they can interact with to the touch.
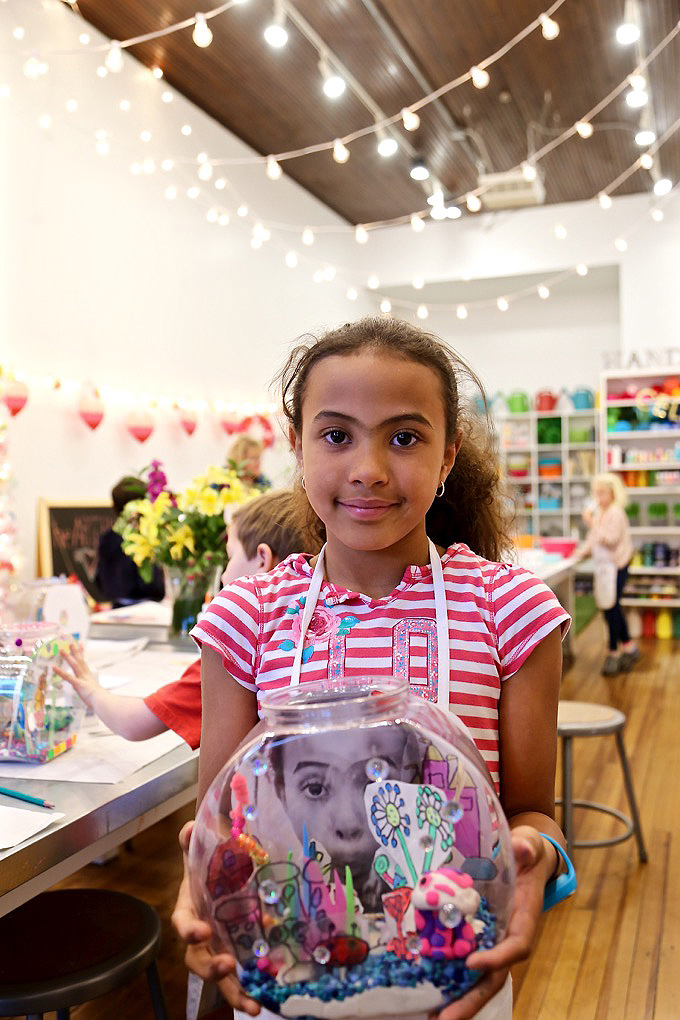
SUPPLIES
- Fishbowl (plastic)
- Black and white photo of artist printed to size
- Permanent markers- black and colored
- Tempera paints in a neon pallet
- Glue- white glue and hot glue
- Scissors
- Clay- Sculpey and Model Magic
- Bubble wrap (this may be used in front of photos to create a bubbly texture)
- Fish rocks
- Seashells
- Glass rocks
- Watercolor paper or heavy-weight paper
- Shrinky dinks
- Craft sticks + wooden dowels (tiny)
- Colored straws both in paper and plastic
- Glitter
- Slick paint in neon and glow-in-the-dark
- Embellishments- pom poms, glitter and solid colored sticky foam, beads, stickers, muffin tin papers, neon patterned paper, pipe cleaners, gems, washi and duck tape and more!
PROCESS
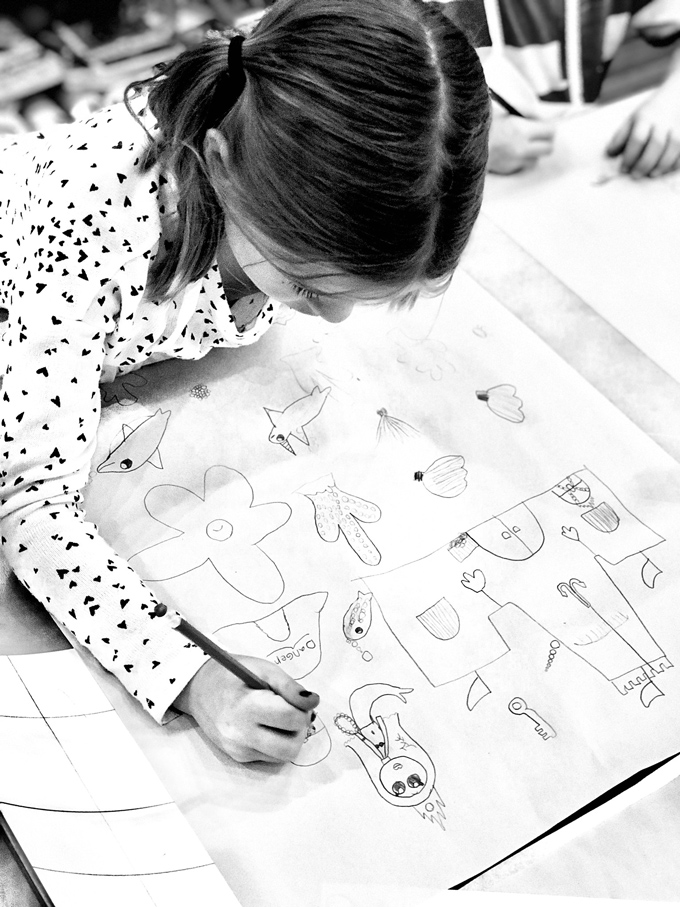
ONE Sketch your vision for an aquatic habitat using your BIG imagination. Let ideas overflow. Sketch with pencil and large paper by going BIG, really BIG! Ideas might include fish, sea creatures, boats, plantlife, mermaids, divers, anchors, volcanos, castles, chests of jewels, sunken treasures, shells, caves, castles, and more!
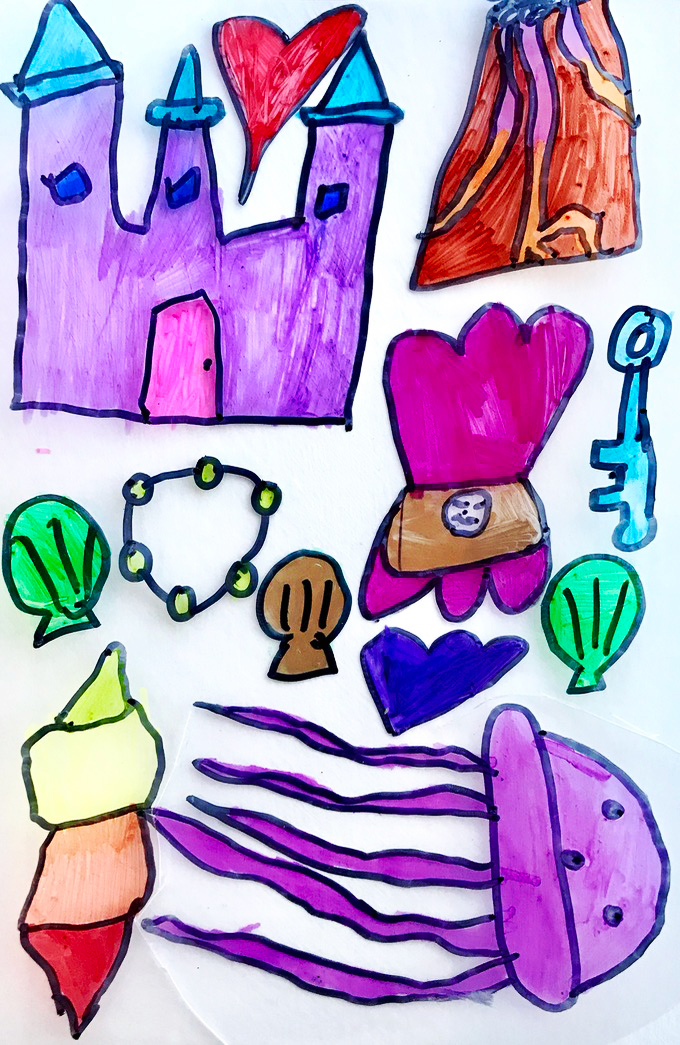
TWO Use shrinky dinks and black permanent marker to create creatures and ocean treasures. Add color by using permanent markers. Once shrinky dinks are complete, cut out and baked or keep at full (unbaked) size. This is a fantastic material for its transparency quality. Plastic straw and/or wooden stick can be hot glued at the base, to then be easily pushed into a clay base.
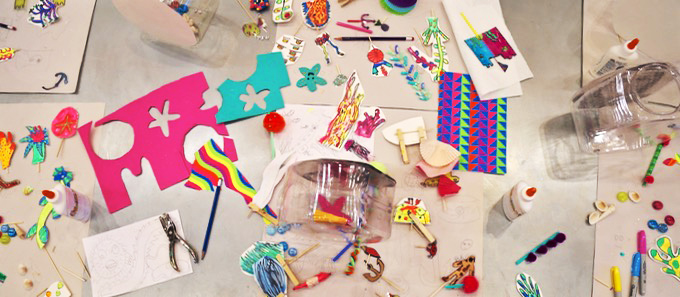

The plants and patterns (above) were created by an A-M-A-Z-I-N-G five-year-old artist, really! Divide large, heavy-weight paper into smaller sections so you have a ballpark on how big drawings can range so they actually fit inside your fishbowl.
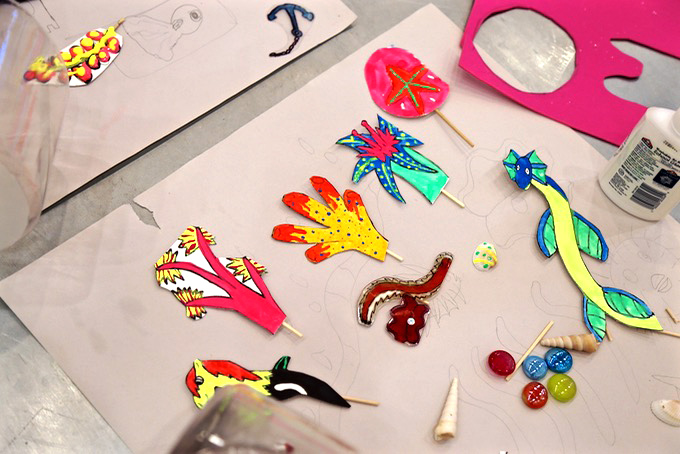
THREE Study a sampling of aquatic plants. Lightly sketch out simplified plants that might live in water or a fishbowl habitat using a pencil on heavier weight watercolor paper. Outline with black permanent marker and paint using fluorescent tempera paints and watercolor brushes. Cut out and embellish using neon slick paint and glow-in-the-dark paint for added highlight and texture, but be sure to make time to dry overnight. Use wooden dowels (toothpick size) to create a stem so plants have a simple support structure to secure into a clay base. Remember shrinky dinks need to be hot glued to sticks and cut plastic straws, while paper plants on wooden sticks can simply be attached with white glue.

FOUR Move into designing the main creature using colored polymer clay or Sculpey. When your clay creature is complete, simply bake in an oven to harden, following directions provided. Polymer clay or Sculpey is a fantastic option for strength and maintaining vibrant colors while staying true to fine detail. Colors can easily be mixed but the selection of vibrant colors available are quite tempting. We selected colors to flow with our neon color pallet for this overall project.

This sweet sea turtle shows the fine detail and vibrancy that can be captured using this fantastic product. Glitter can also be added, after a creature is baked, to make swirling shells + scales sparkle and shine! Pre-poke holes for wooden sticks into the underneath of the clay creatures so when support sticks are added with hot glue, the creature is much more secure. Creatures like turtles or “heavy creatures” need very short sticks to be supported on top of the clay base. It is also helpful if the clay base has time to firm for added “creature” support.

FIVE Usie plexiglass to photograph the artist so they look like they’re peeking into the fishbowl from behind the glass. Photos can be printed in black and white using high contrast + high-quality photo paper. Trace around the bowl with pencil, cutout, and hot glued edge to the back of the fishbowl so the face appears to be looking in. Expressions might include surprise eyes, fishy lips, hands pressing against the glass, kissy lips, silly faces, and more! Artists LOVE seeing their photos in print. This piece really personalizes the project, making it completely priceless!

SIX Create a thick clay base. We used Model Magic. If you haven’t used this clay before it’s the BEST. Kids LOVE working with it. Add white glue to the bottom of your fishbowl’s interior to secure in place. Use hands to spread out clay. Leave space between the front glass and clay base so rocks can be pressed into this area for added texture and color. This base will be the foundation for adding pieces upright.

SEVEN Brush white glue onto the clay base so shells, glass stones, and fish rocks can be added securely. Artists love making selections of tiny treasures! Simply press items into place within the clay base.

EIGHT Add the main clay creature first. Hot glue creatures onto sticks so they can be secure on the clay base. Place creatures towards the front of the fishbowl so it can easily be seen and so it becomes the center of interest. Arrange paper plants and plastic shrinky dink pieces that have been pre-glued onto wooden sticks and straws into the clay base. Work on creating foreground, middle ground, and background to create a layered look. Play with multi-levels of height so photo and all handmade treasures can be seen from all angles. Be sure to white glue every addition before poking down into the clay base. It takes several weeks for clay to fully dry, rearranging can continue as clay begins to firm. Young artists love to be able to play with their aquatic habitats and move the parts and pieces around.
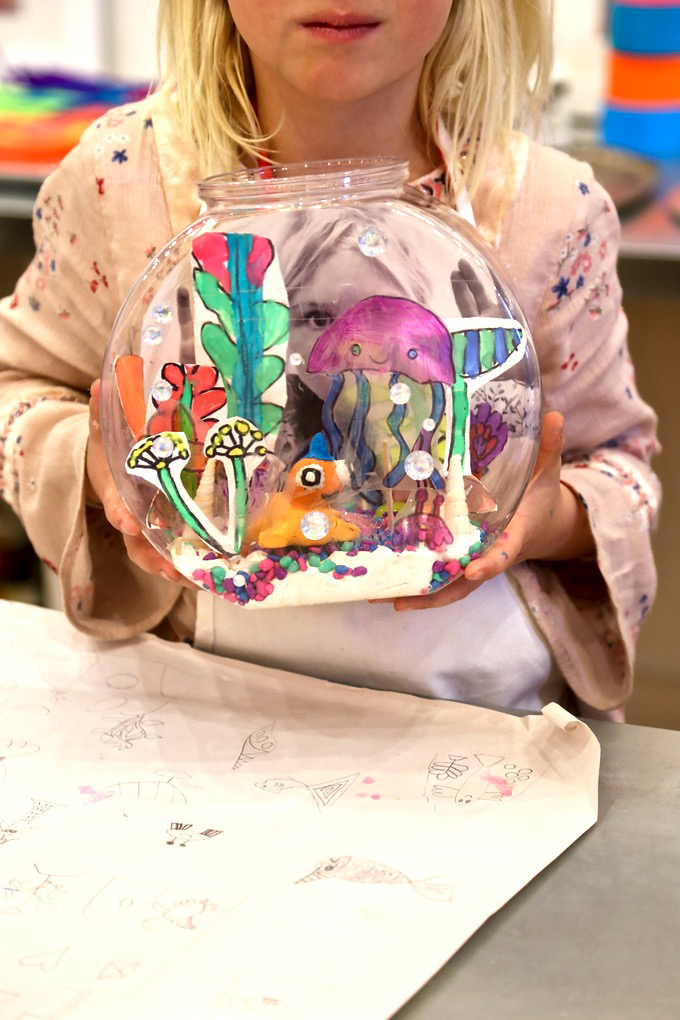
Gem stickers can be added to the exterior of the bowl to create shimmery bubbles!
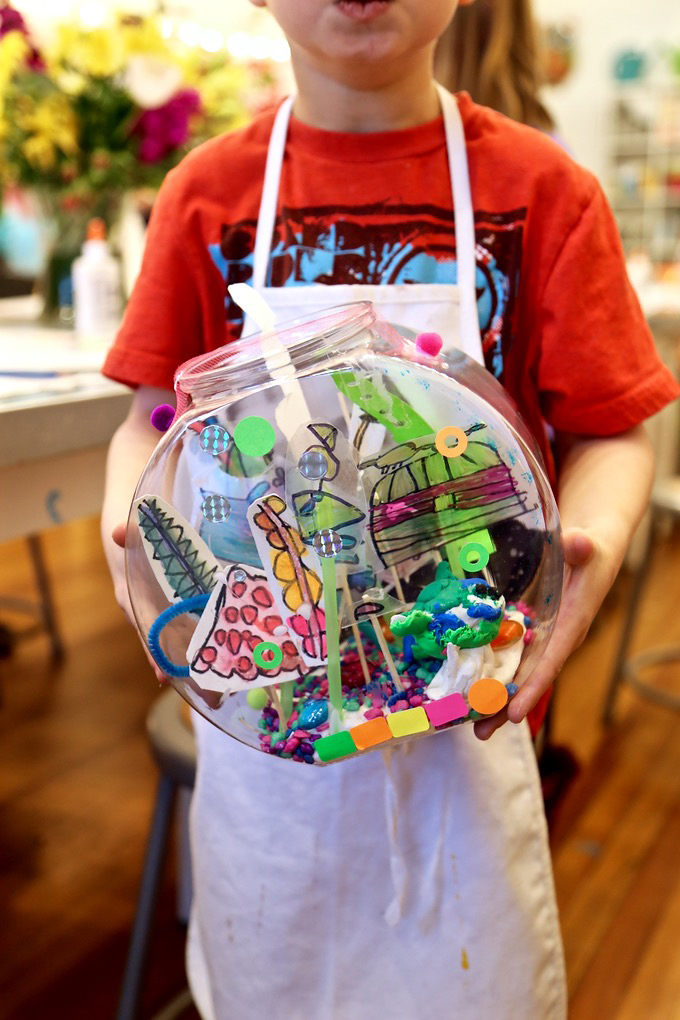
Love how this artist used stickers for an exquisite pattern while mastering the art of layering.

NINE If you have an overabundance of paper plants, these can become a fantastic addition once hot glued onto the “upper back” of the fishbowl for added sculptural dimension and pizazz!
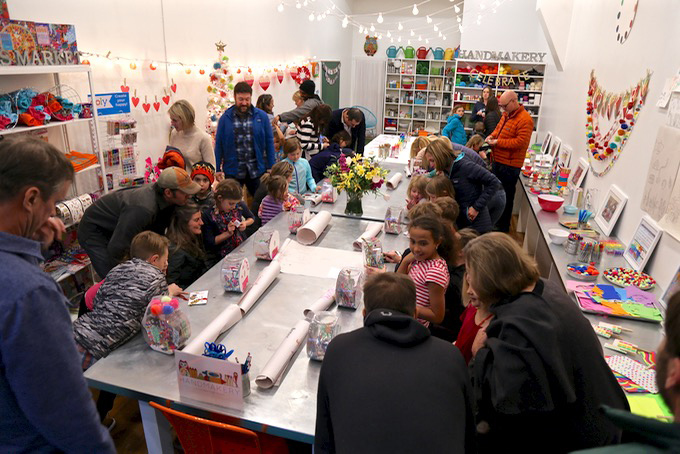
A peek into one of our mini-exhibits + recognition ceremonies celebrating mini makers showcasing their ~ DIY Forever Fishbowls with friends and family. Definitely a festive night at 449 Main Street in downtown Carbondale, Colorado in the heART of the Carbondale Creative District!

TEN Another delightful detail can be embellishing around the top opening of your fishbowl. Use tiny paper garland, pom pom ribbon, actual hot glued pom poms or cutout shapes of sparkly sticky foam repeated into various patterns for a few bits of delightful detail! If you decide to create a ~ Forever Fishbowl, we’d love to see your mini masterpiece! Simply tag @handmakery on Instagram! We look forward to seeing what you create in this underwater world full of whimsy and wonder, and NO water! Oh YES, and don’t forget to check out our NEW ART WORKSHOPS STARTING NEXT WEEK!
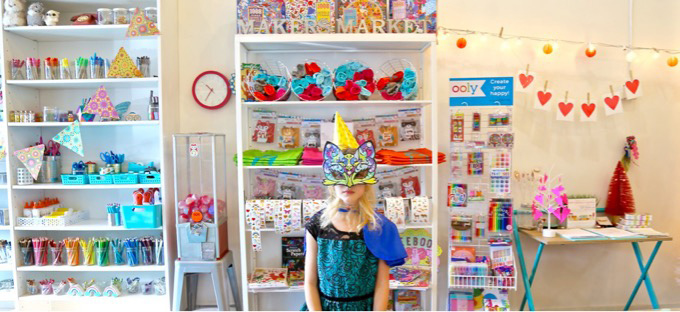
Did you know we’re now carrying some of our favorite art lines including Ooly, Eeboo, Ms. Grossman’s Sticker Factory, Banquet Workshop and our own signature line of tees + totes!?! So fantastic for gift giving!
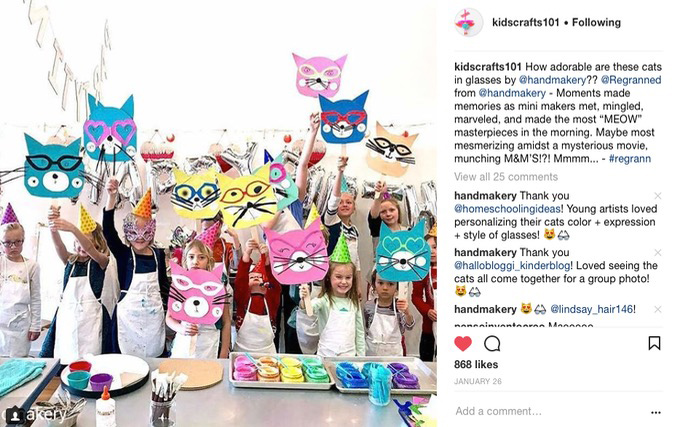
Discover HANDMAKERY on Instagram + Facebook + Pinterest + Mailing List + Enroll via handmakery.com! Look for us in the Mountain Parent Magazine celebrating life in the Roaring Fork Valley, Colorado! Come take a peek inside our lovely + NEW + modern + bright + colorful art studio located at 449 Main Street in downtown + historic Carbondale | CO! Until next time, keep creating and don’t forget we host the best hands-on + personalized birthday parties!!! Here’s a peek at one of our most recent birthday parties that was featured on @Kidscrafts101! Take a peek at what’s happening inside our studio on handmakery.com and over at @handmakery on IG! Thank you for following along on this ARTful adventure! Much love, Ami
