DIY Vespa Venture in Venice
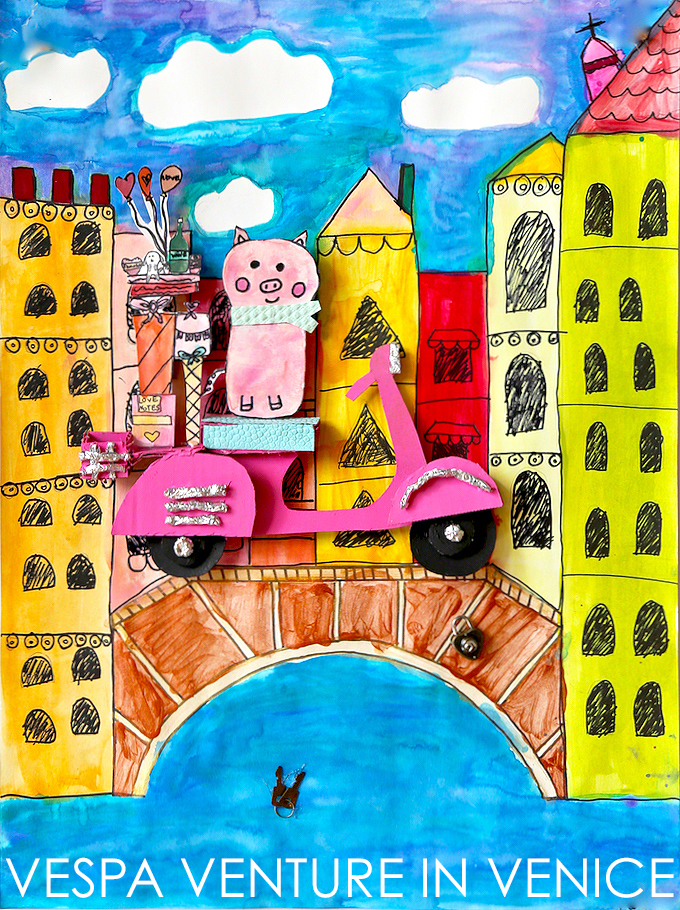
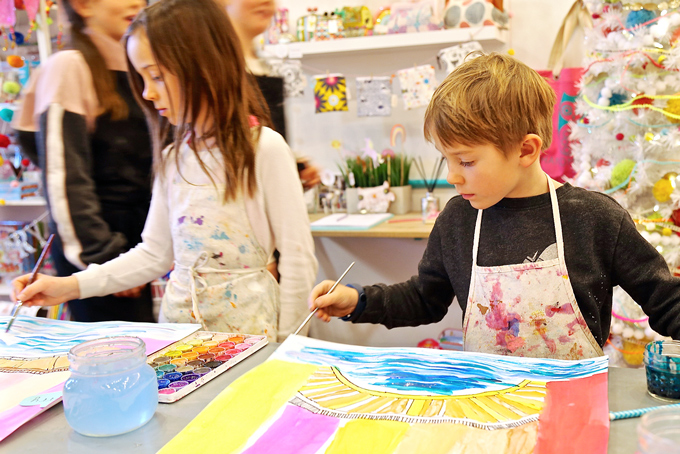
Meet and mingle with our ~ DIY Vespa Venture in Venice created by young makers! If you’re connected with us on Instagram, you’ve seen young artists creating these precious popped out pieces in an after school workshop just before Valentine’s Day, hence the love lock addition! The vision was to create a colorful creature, possibly a vivacious vole, venturing and vrooming through the streets of Venice on a vibrant Vespa, full of Valentine’s gifts galore…that’s a whole lot of V’s, right!?! Of course, you could design any type of pretty packages for transport or choose any cute creature to be captain. Take a peek at our {hands on + mixed-media} process creating with crafty kids in Carbondale, Colorado in our downtown art studio at 449 Main Street.
Have you ever wanted your very own Vespa scooter!?! They come in SO many beautiful colors under the sun! They’re simply so easy to spot on a summery street in all sorts of savory shades. How could you ever choose from seafoam green, luscious lime, savory sky blue, amazing aqua, sunshine yellow, outrageous orange, just to name a few of the “scoops of sorbet”! Someday I’ll own my very own but for now, these vrooming Vespas completely fill my heart. Children LOVE creating things that are cute, crafty, creative, connected, contoured, centered on cardboard, all with a clever catch! This project took a splash into artsy architecture, a love lock tradition on-trend, and added a speedy story to showcase. Then there was the venturing vole (you could create any creature or even a humanized character) making a vrooming Valentine’s Day special delivery by Vespa!

YES!!! Our SUMMER ART CAMPS just opened for early enrollment! We also have our last SCHOOL YEAR ART WORKSHOP coming up with just a few spaces ~ a TOUCAN’S TRIP TO TAHITI in TIE-DYE starting the week of April 13th! Take a feathery flight this spring and join us in
SUPPLIES FOR ~ DIY VESPA VENTURE IN VENICE:
- Vespa images for reference
- Sketch paper
- Cardboard- thin and regular weight
- Glue- white glue and cool temp hot glue
- Foil
- Paper-mâché
- Newsprint
- Paint
- Embellishments- specialty papers + sticky foam + pom poms + more
- Heavy-weight watercolor paper
- Ruler or straight edge
- Watercolors
- Permanent marker
- Little lock and key for love locks (optional)
PROCESS FOR ~ DIY VESPA VENTURE IN VENICE:
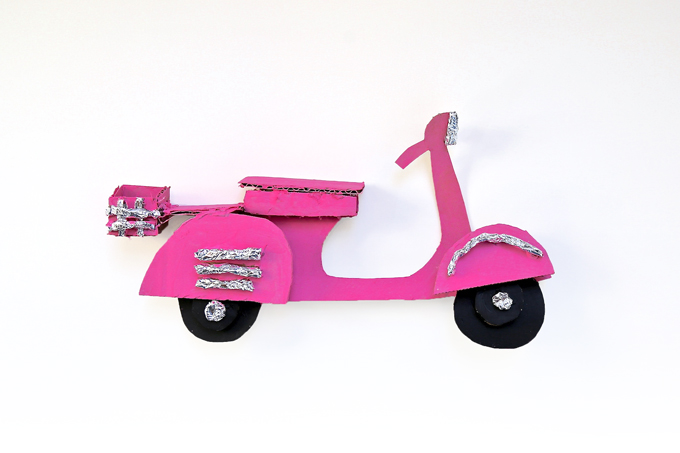
DESIGNING A DREAMY VESPA
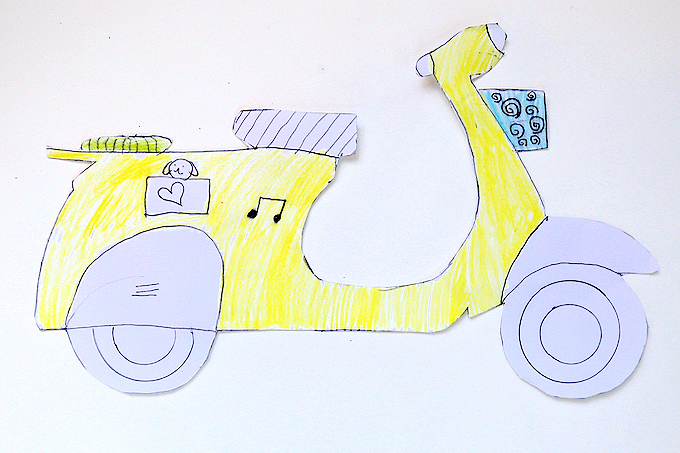
ONE Sketch a variety of Vespas using photos for reference. Select your favorite and get started on some exciting designing and color planning.
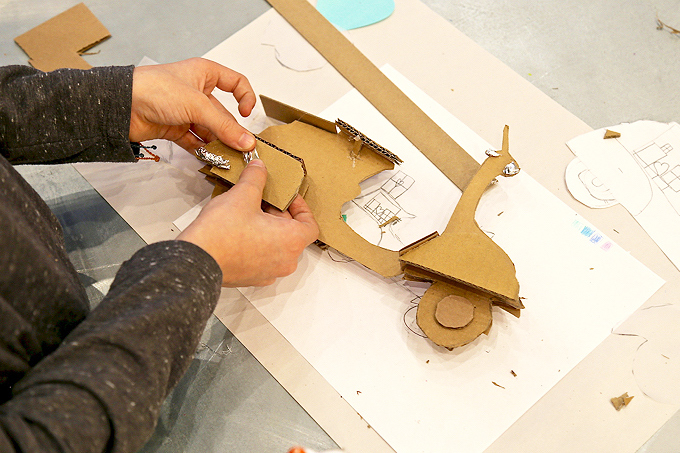
TWO Create the full body of your Vespa by sketching it out on light-weight cardboard. Cutout. Decide which components you’d like to pop out to create added dimension. Most of our artists popped their fenders, seats, racks, lights, and more! Smaller pieces take on more “pop” with traditional cardboard. We had an easy to cut, yet “thick cardboard” to create “spacers” between pieces to pop-out even more dimension. These pieces were simply glued between.
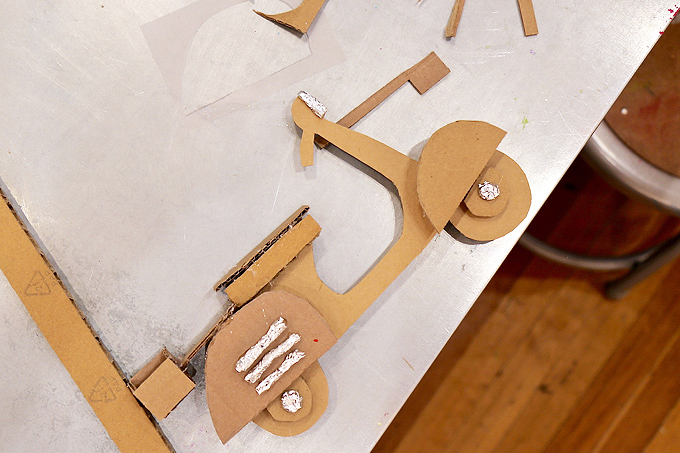
THREE Glue parts and pieces in place using white glue or a “cool temp” hot glue. Foil was a very moldable material for added detail but it needed to be hot glued. Some artists covered their foil with paper-mâché, while others used foil as a metal accent and left it artfully exposed.
Waa-
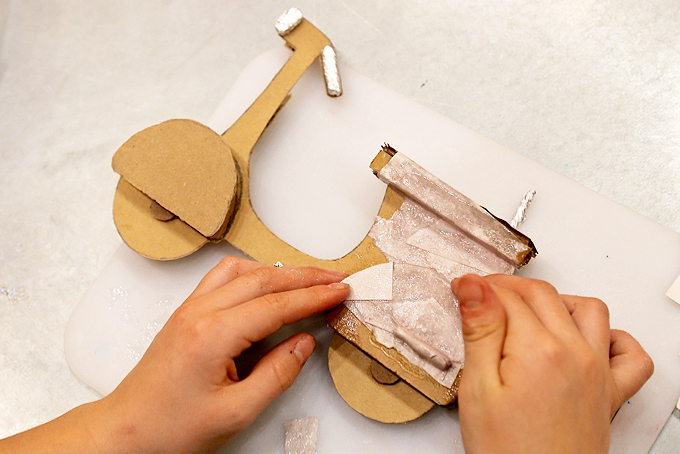
FOUR Paper-mâché is optional. Our older artists had time to add a light layer of paper-mâché. Paper-mâché creates strength and unifies but it’s an optional step if you don’t have enough time, especially since the finished Vespa will be connected to another element for added strength.
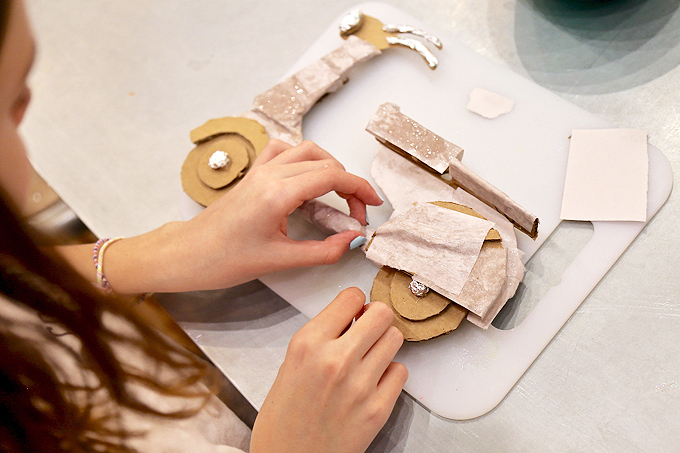
Most artists love adding a little paper-mâché to their life! Extra small pieces of newsprint enabled the contours to still show the dimension and detail. If you do mâché your Vespa, fully dry before moving onto paint.
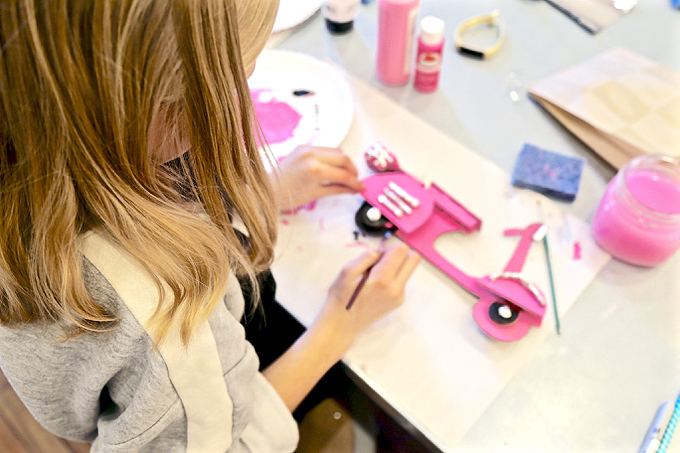
FIVE Paint your Vespa one solid color. Dry. Then move into smaller detail painting until your heart’s content.
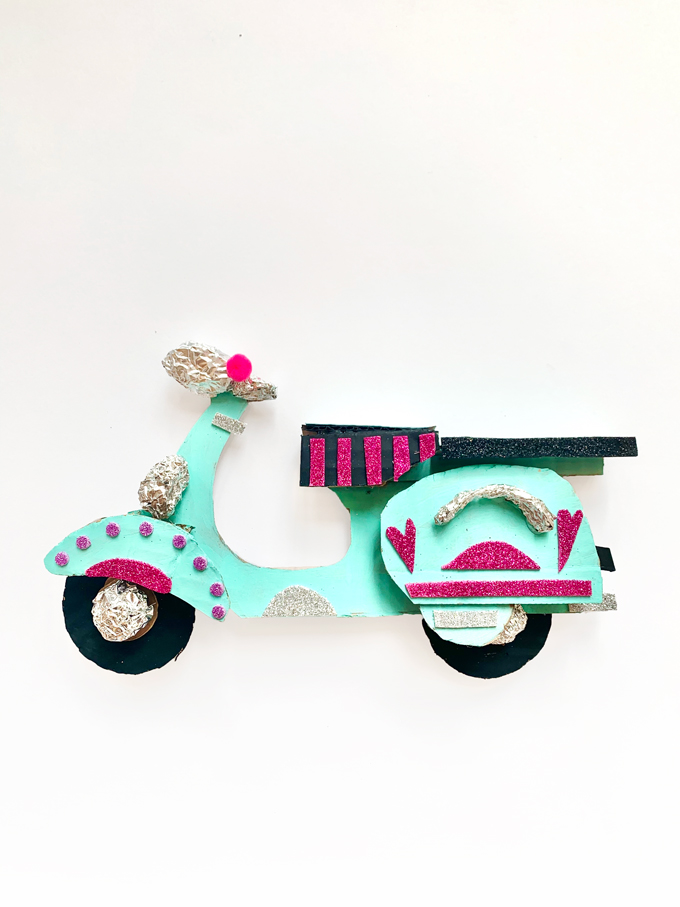
SIX Embellish using specialty papers, sticky foams, foil, pom poms, and more. Secure in place with glue.
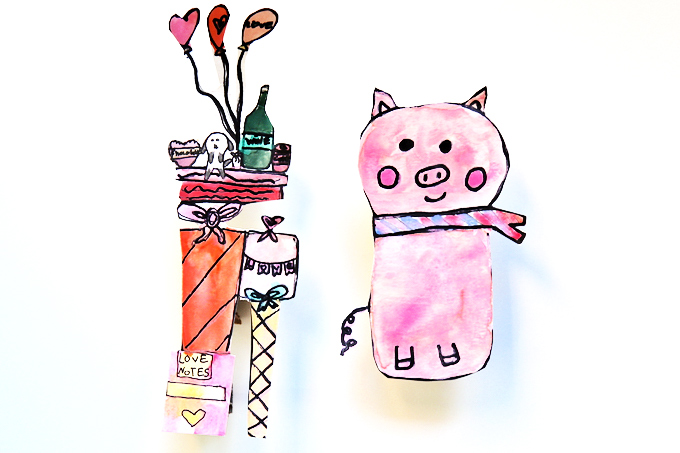
SEVEN Working on heavy-weight watercolor paper, sketch out a humanized creature with a whole lot of character to drive your Vespa (possibly a vole, pig, hedgehog, or maybe even a panda) and sketch out a stack of packages for your Vespa to transport! Define with
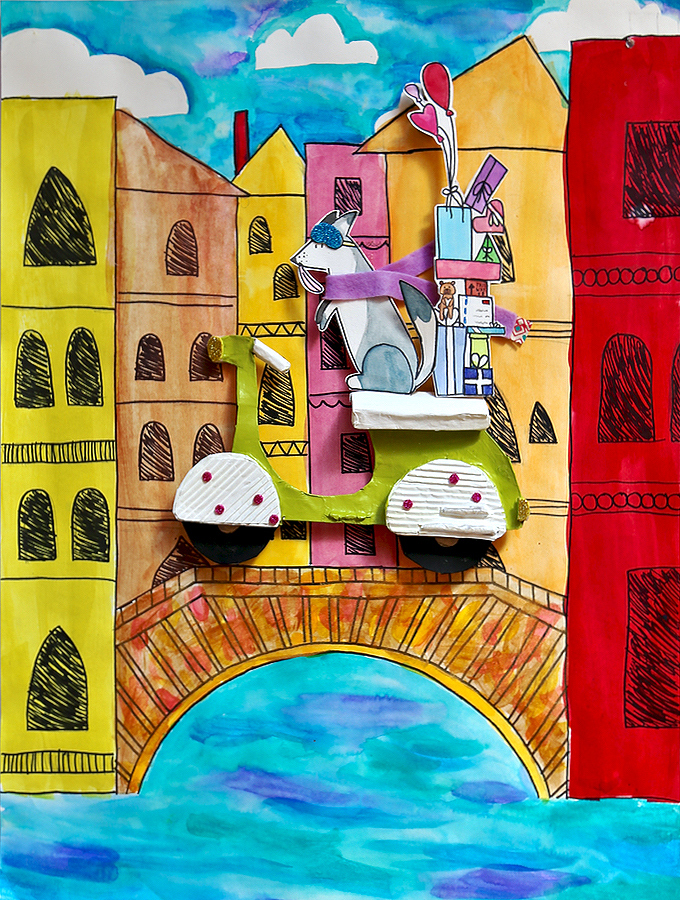
DRAWING + PAINTING A VENETIAN CITYSCAPE

Take a splash into creating a Venetian cityscape for your Vespa!
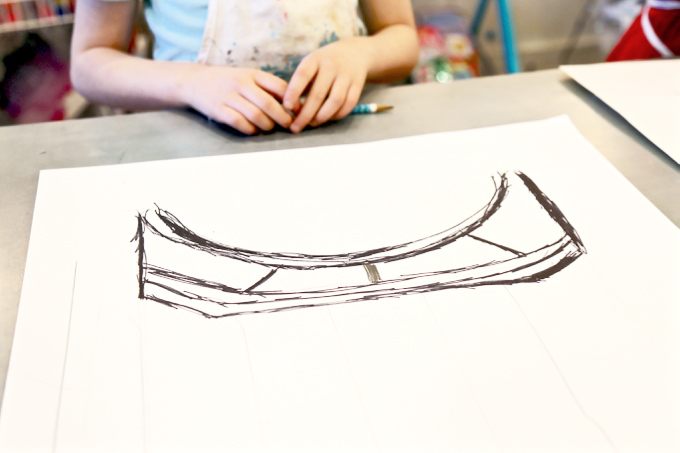
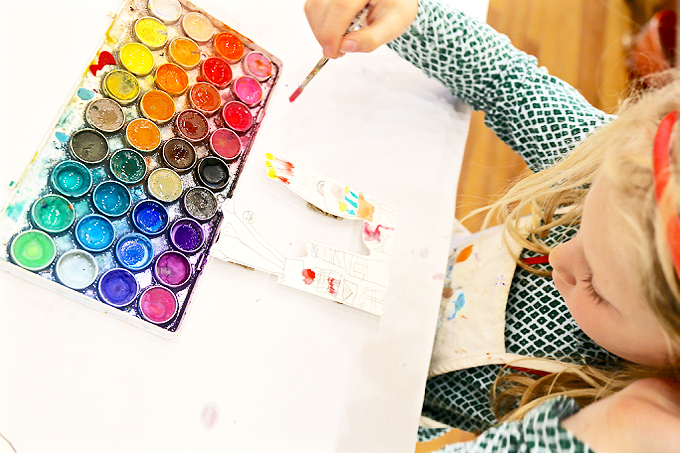
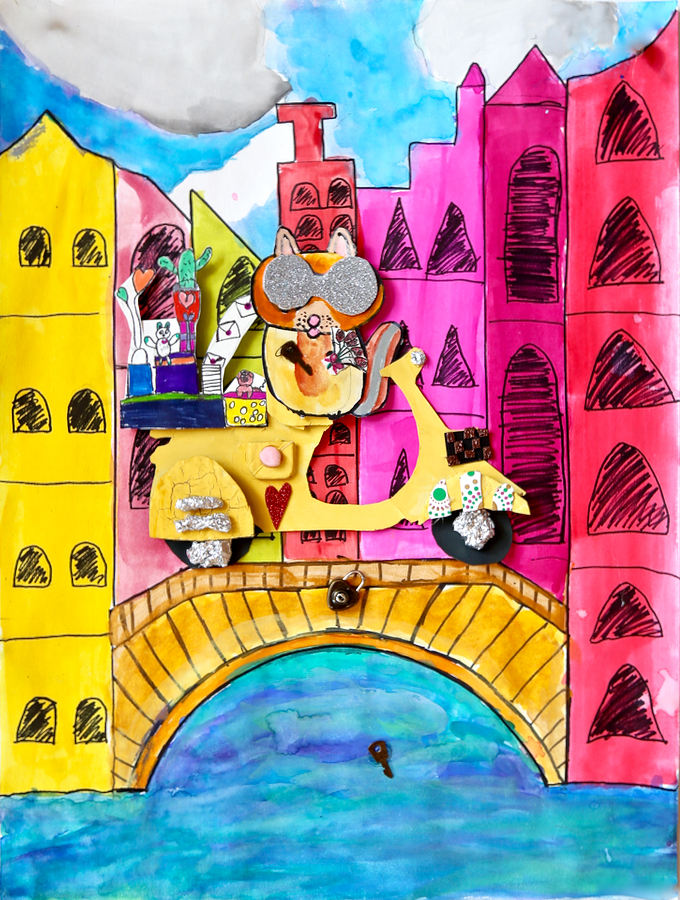
ONE Working on 18 x 24″ heavy-weight watercolor paper, we created a simple stencil for the center bridge placement to give young artists a starting point which had the curve line bottom, top line, and both side-lines, similar to the image above but less detailed. From this point, artists individualized their bridges by incorporating additional curves, lines, and details. The bridge, above the canal waterway, was then painted using a warm “golden pallet” of warm liquid watercolors.
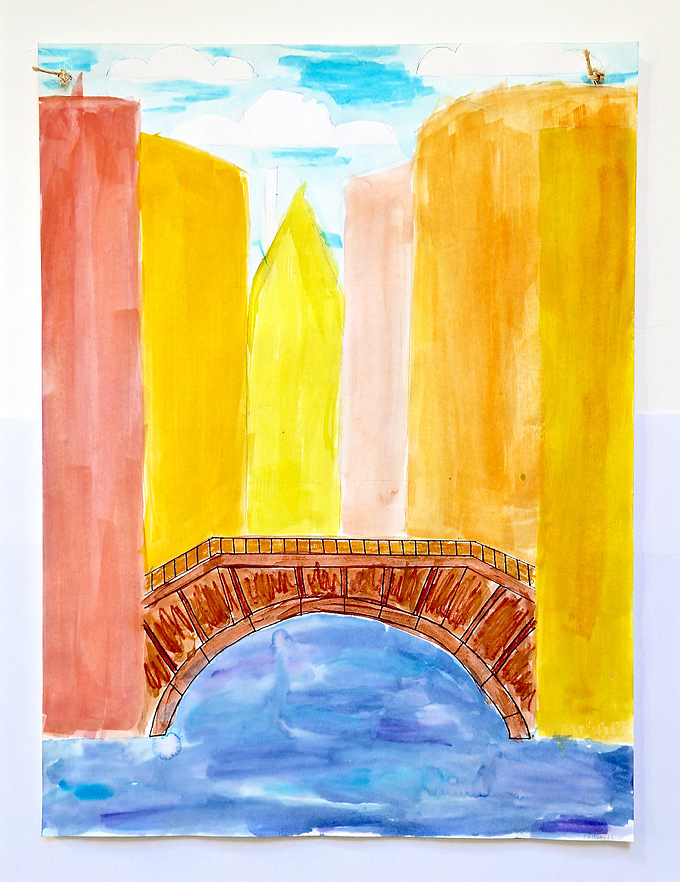
TWO Create buildings using vertical lines with a ruler or yardstick. It seemed best to have 6 – 7 buildings. We discussed how building further away will appear smaller. We also discussed how the buildings were in the distance and how they could appear more “washed or sketch-like or loose” as this wasn’t the most important detail to this piece. Buildings were painted using a wash of warm watercolors.
THREE Move into painting the waterway, aka the canal, using cool watercolors for a colorful

FOUR Use a pencil to create the horizontal “3 – 4 levels or stories” on each building and add windows. Look at windows on old Venetian buildings and how they’re different than windows on skyscrapers of today. Compare architecture of today to historic architecture in Venice.
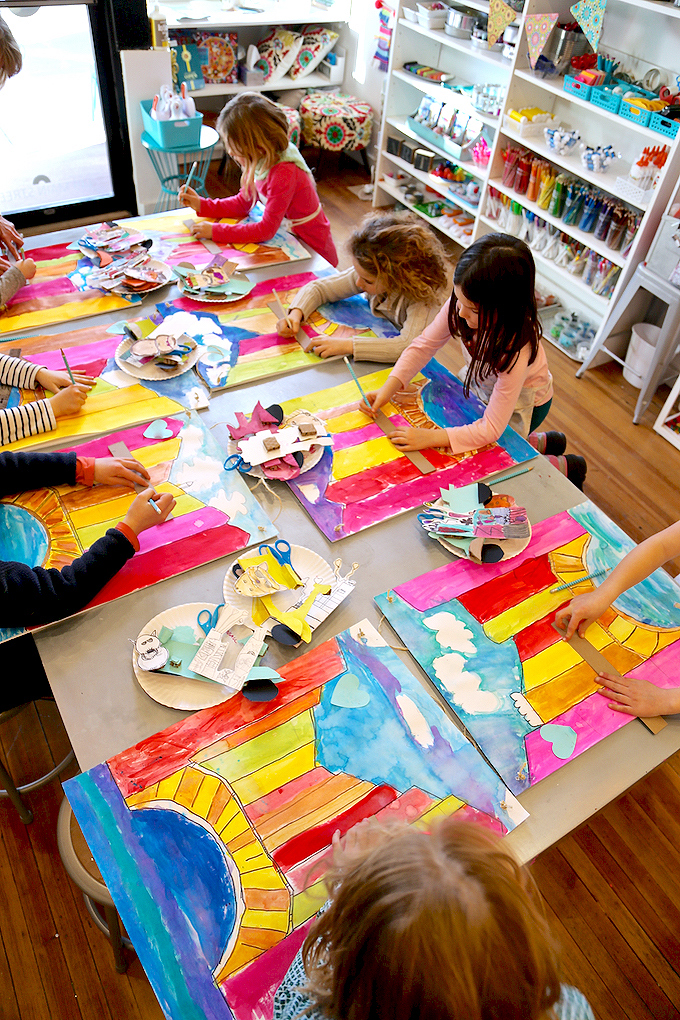
A bird’s eye view of painted pieces just before windows were added.
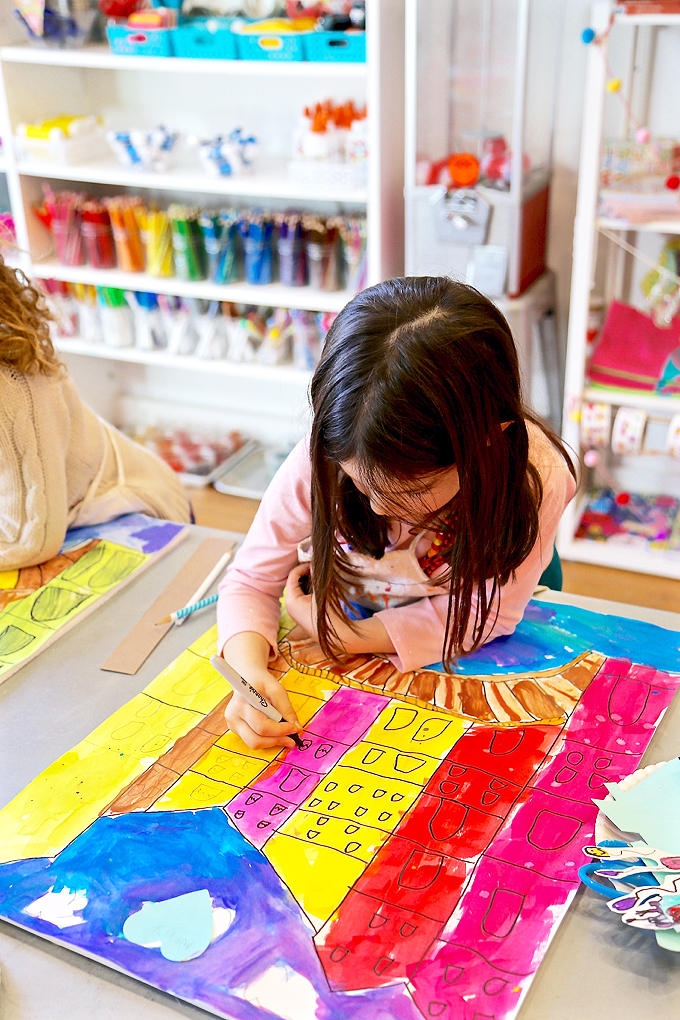
FIVE Use a black permanent marker to finalize windows and additional details. Most artists colored their windows in black to create a pop of color and contrast.

Love the additional waterlines-n-waves + bridge detail this artist added to her piece to personalize using a permanent marker!
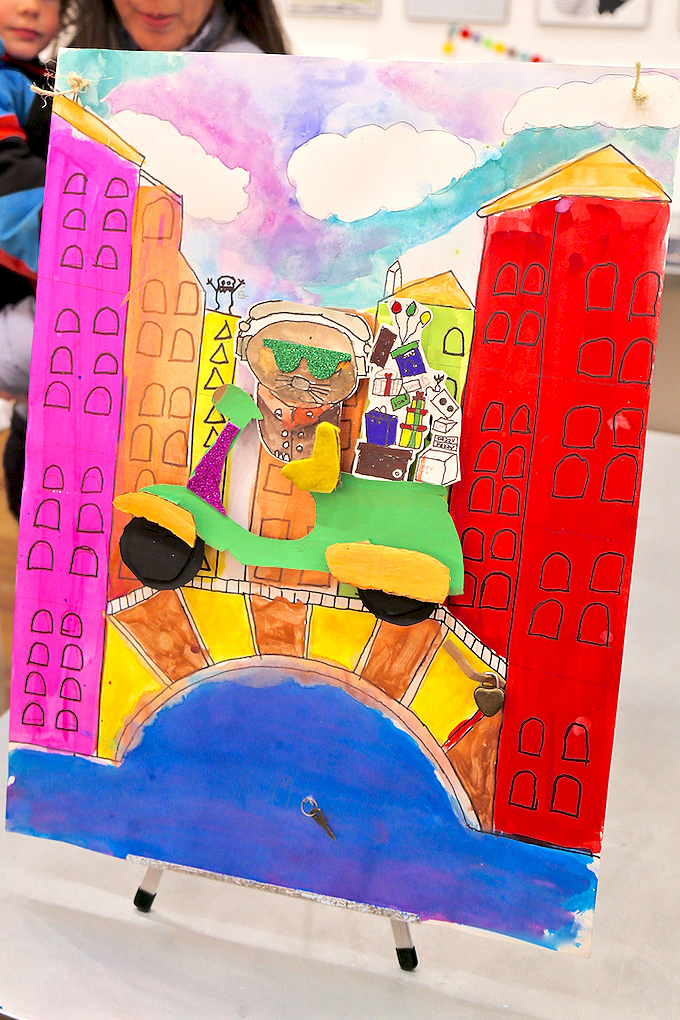
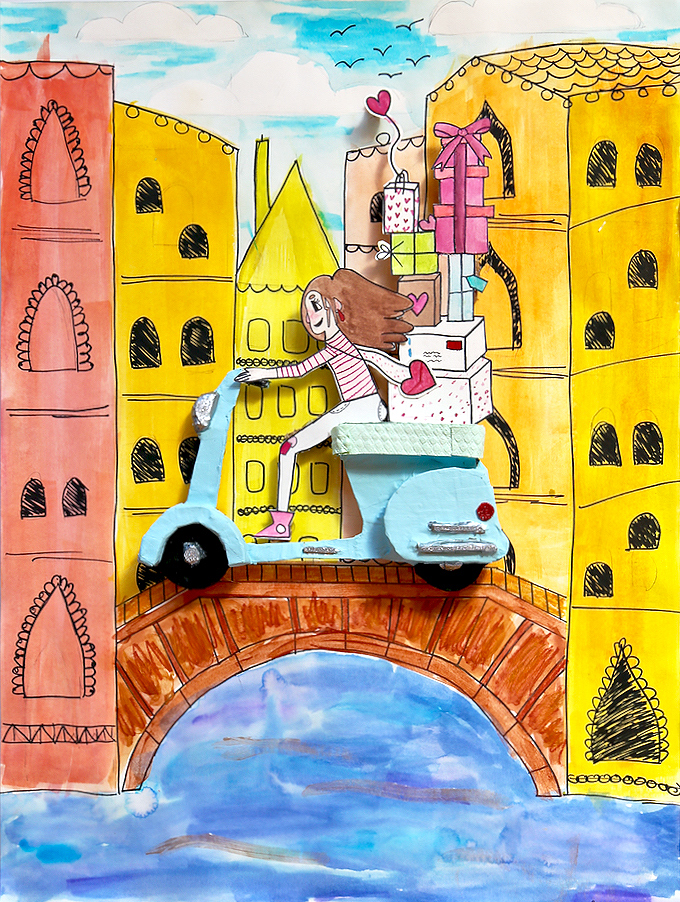
SIX Assemble your entire piece and glue down all the clever + creative + crafty components which include a Vespa, creature aka driver, and packages all on top of your bridge above the lovely canal in Venice. Learn about the love lock tradition and add a mini metal lock to the bridge and toss keys into the canal to celebrate the completion of your colorful creation!
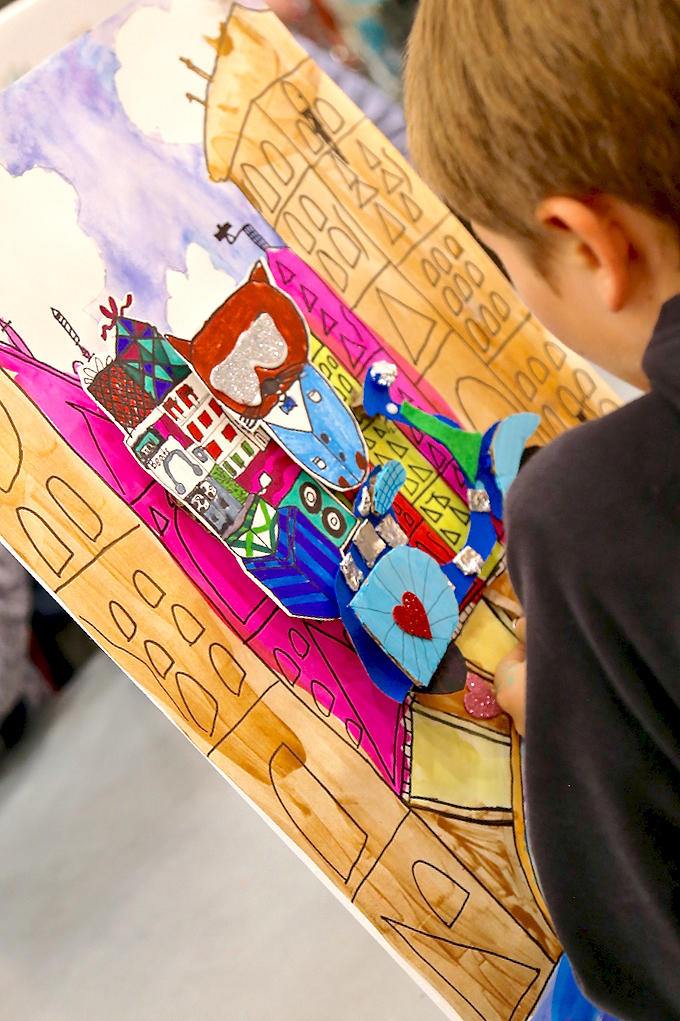
Take an upclose peek at all the clever additions on this piece.
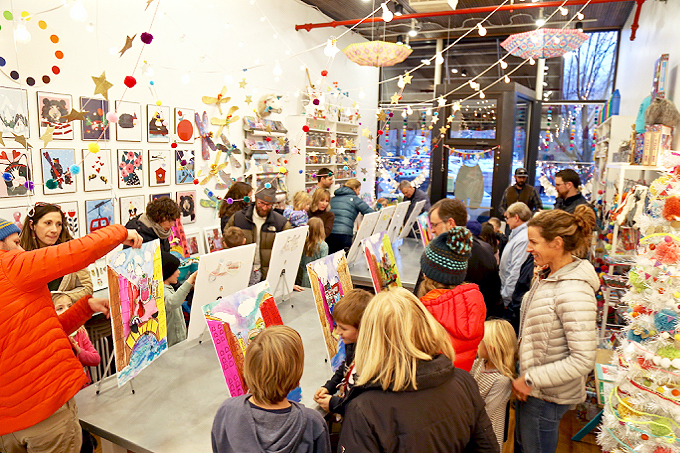
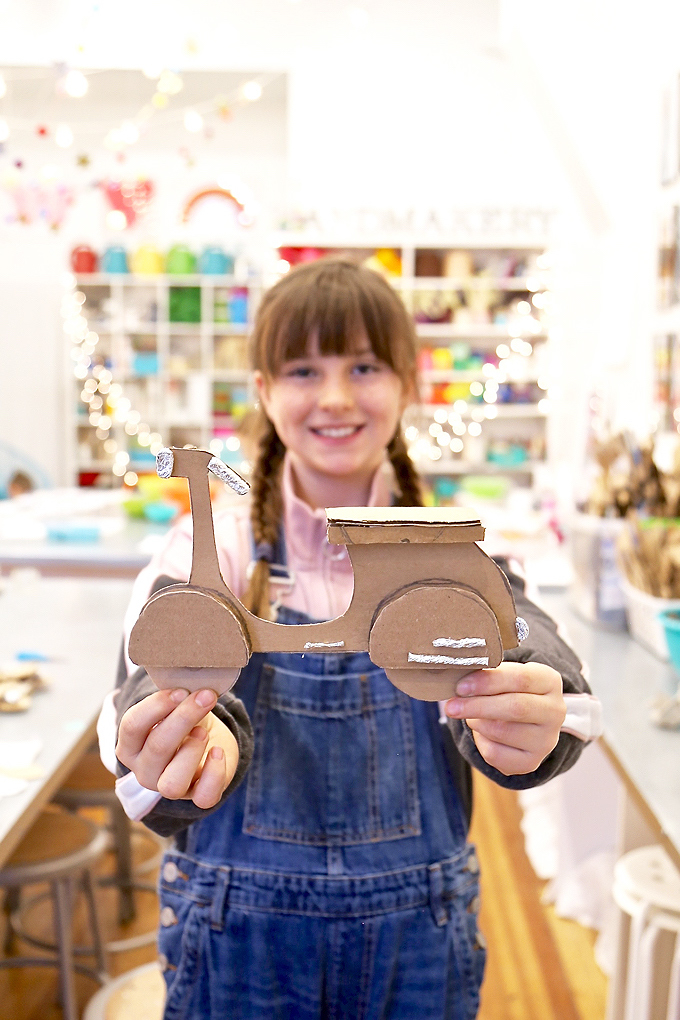
Celebrate childhood + creativity + coming together as a community before taking a trip to Venice inspired by your very own clever creation!
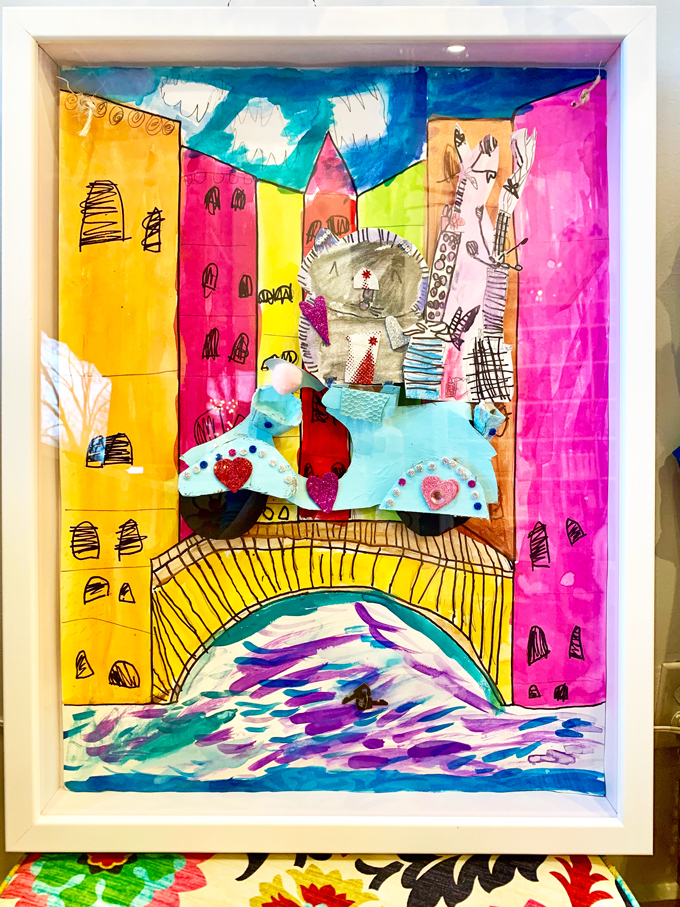
Absolutely love this precious piece that was created by one of our youngest artists and immediately framed by her lovely mama in a sweet shadowbox for showcase, sweetness, and safekeeping!

This is my current scooter of travel, but you’ll be the first to know if I take the leap to get my very own Vespa for vrooming & venturing the downtown streets of our little mountain town of Carbondale, Colorado!
Tag us on Instagram with your creations. We’d absolutely LOVE to see them! As always, thank you for following our artful adventure on Main Street in the heART of the Carbondale Creative District! Send us a note anytime! We’d love to hear what you’re thinking, dreaming, envisioning, and of course, our favorite ~ CREATING!
Much love and happiness creating in this creative + colorful world filled with collaboration + connection + community + arts & crafting! Happy Springtime from our studio!
Ami