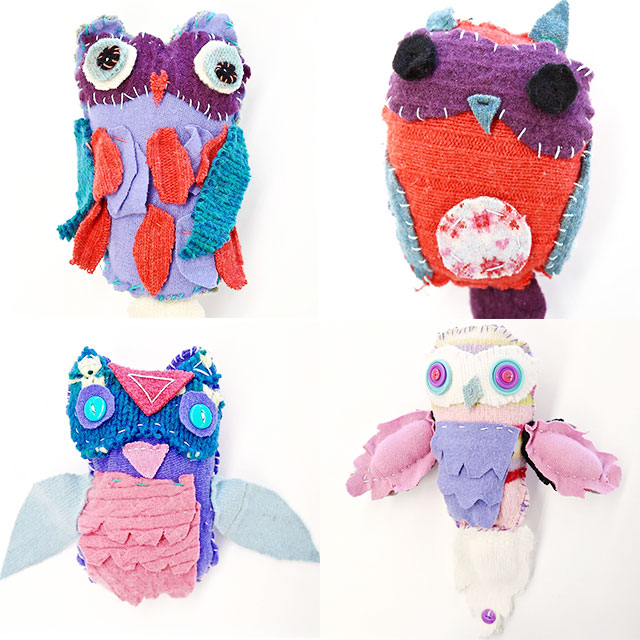
Springtime Owlets

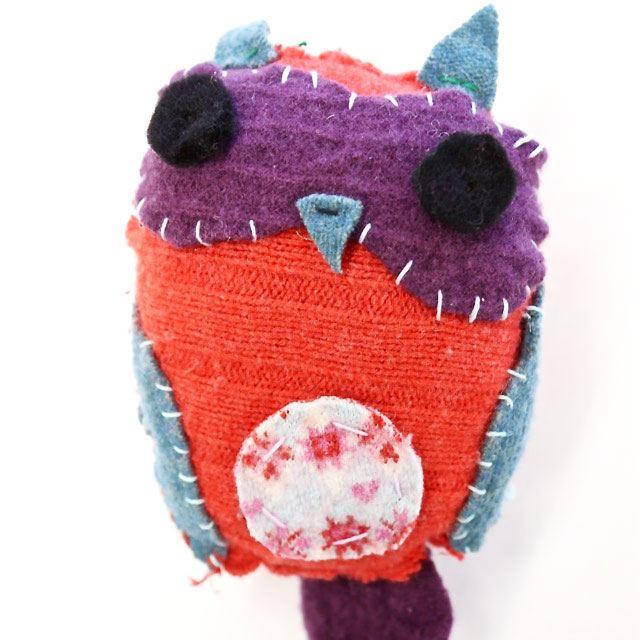
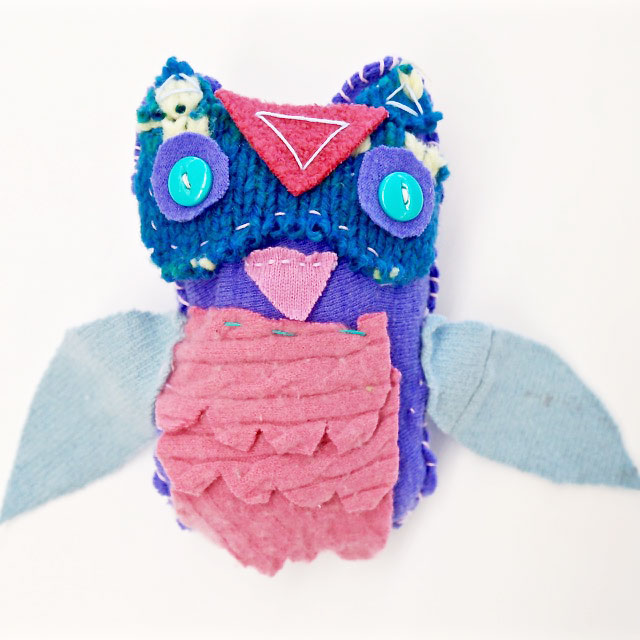
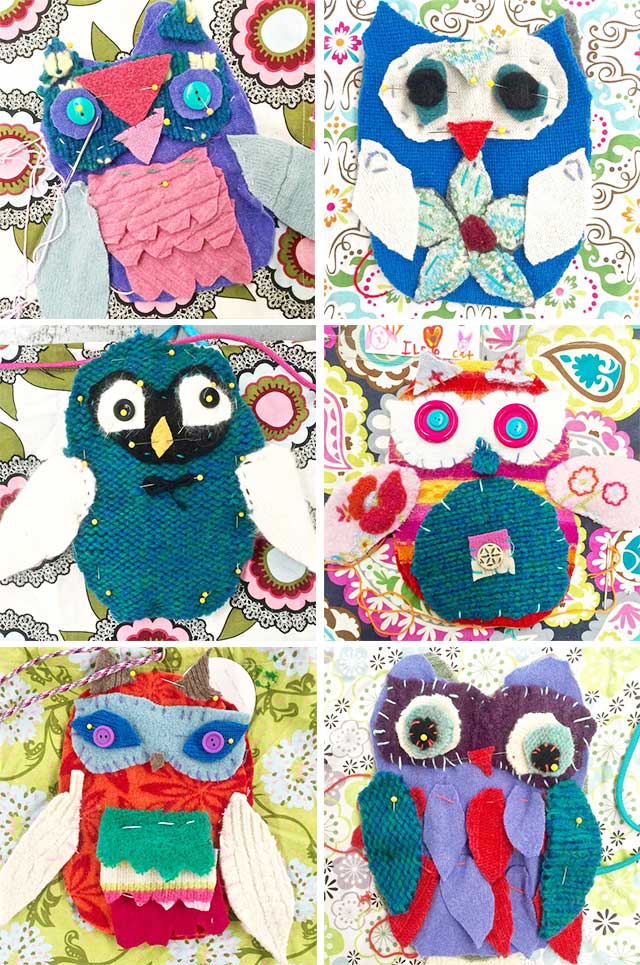
Excited to share with you~ SPRINGTIME OWLETS, recently handcrafted in our 6-10-year-old workshop: STITCH + SEW! Over on our Instagram, we’ll be sharing with Red Ted Art’s @Kidscraft101, as they’re featuring #fabriccrafts for their weekly theme! Anyone can enter, simply tag your weekly themed photo #kidscrafts101 over on Instagram. Then the dream team trio- @redtedart + @babbledabbledo + @incredibusy, along with a special surprise guest, will then judge and announce the winners! This project was definitely a fabric favorite, as each artist designed, constructed, and hand stitched one-of-a-kind soft sculptures. Take a peek at our creature collection of springtime owlets that just hatched in our studio!
SUPPLIES
- Pattern making: paper + pencil + washi tape + scissors
- Felted wools from up-cycled sweaters
- Embroidery floss
- Fabric scissors
- Yarn needle
- Straight pins
- Buttons
- Stuffing
PROCESS
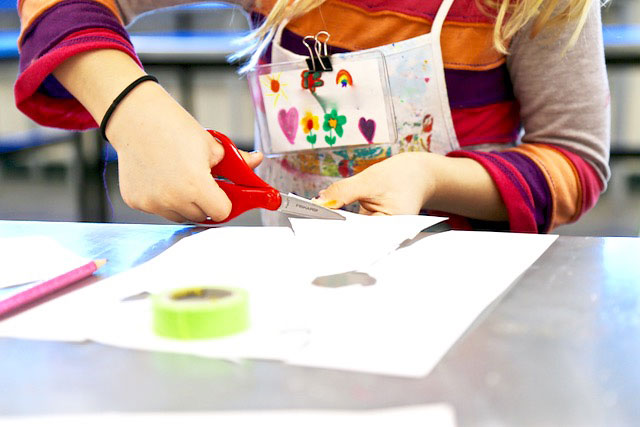
ONE Pattern making and assembling. We provided example pattern pieces each artist could cut out, adapt, modify, add to, and re-create. Having owl visuals, both drawings and photos, are a great addition for children to visualize! Sticking to a general body size is also ideal so completing a finished owl is manageable. Our general pattern included a body front and back, wings, belly variations, eyes, and beak. It was incredible to see how each artist personalized their very own pattern to their own vision!
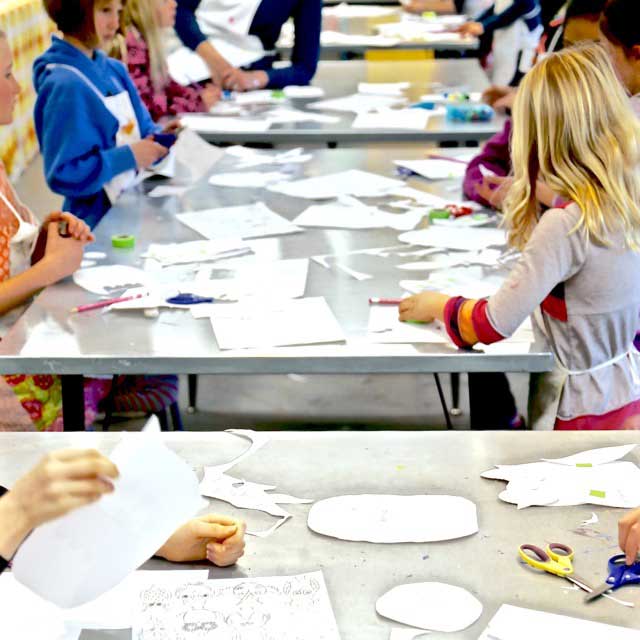
Pattern pieces can easily be sketched, cut, and assembled with washi tape. Washi tape is the perfect tackiness so pieces can be rearranged, shifted and placed back together. This really helped create a hands-on visual for each artist.
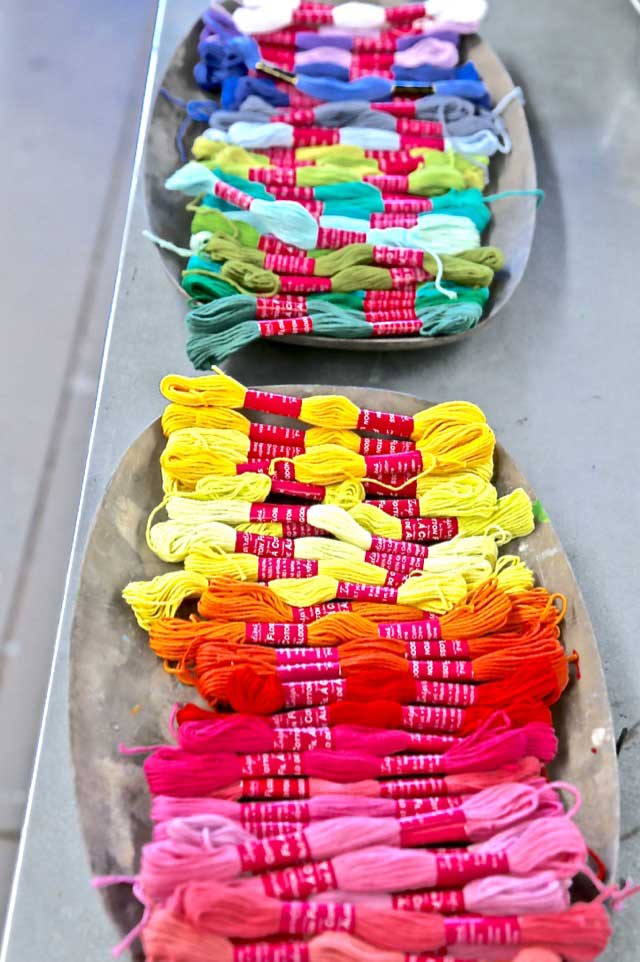
TWO Select a color scheme and fabric textures that speak to the artist. This is always a favorite part to the overall process! Pin the individual paper pattern pieces onto the wool fabric pieces and cut out shapes using fabric scissors. Assemble all individual wool pieces and pin in place.
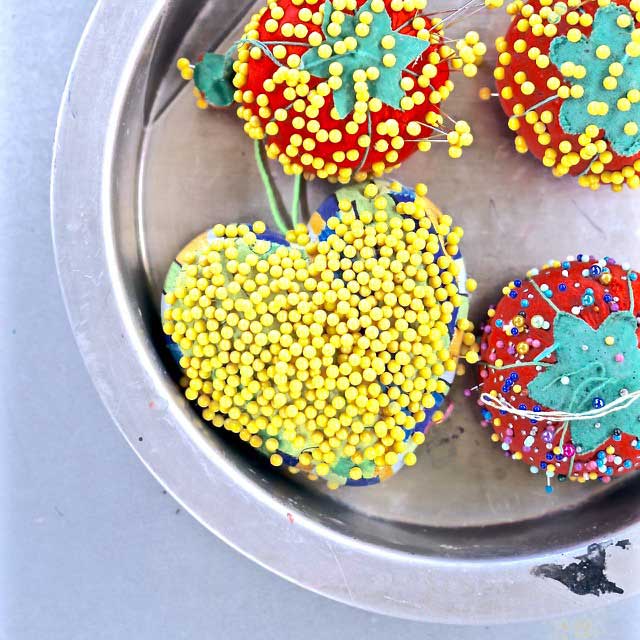
THREE Start by stitching all the layers on the front of the owlet. Most beginner stitchers need to be instructed basic threading, stitching, knotting and the process of adding buttons. Simple stitching can be used to attach pieces, including the running and overcast stitch. Start by stitching the masks, belly, wings and then moved into the smaller details including eyes, ears and beak. Once pieces are attached to the front piece, you may move onto details on the backside. Each artist stitched their owlet closed, starting on the bottom left and moving all around the outer edge, stopping at the bottom right. An opening on the bottom was left for stuffing and then stitched closed.
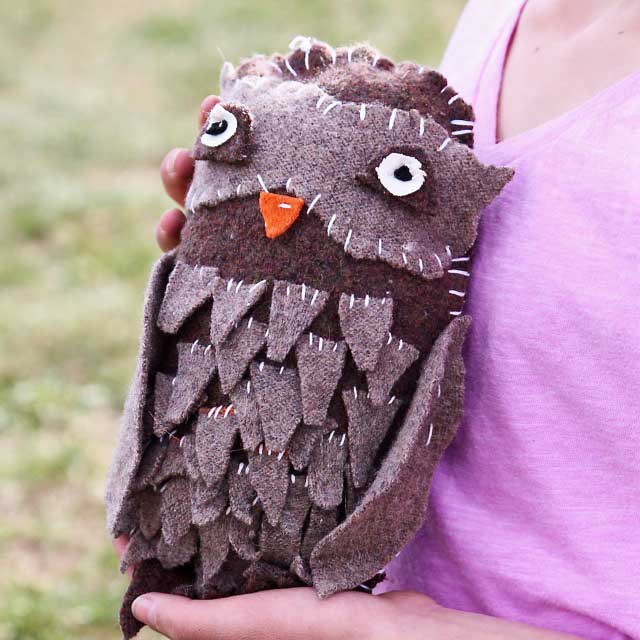
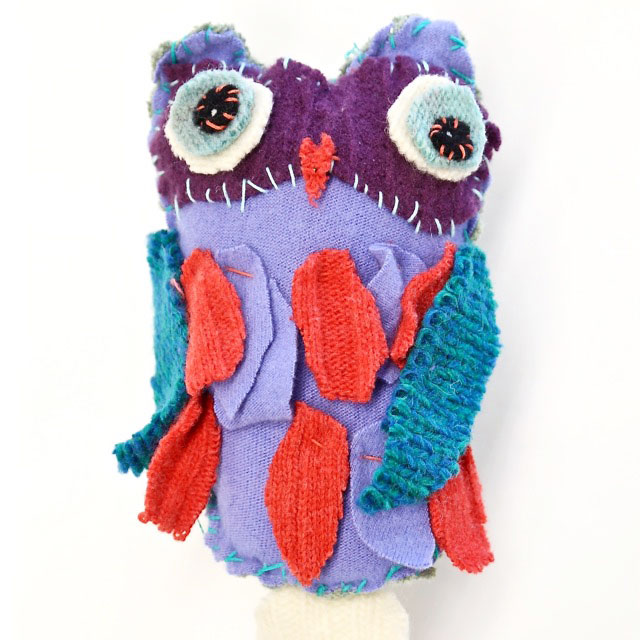
This was the most realistic owlet created by a very dedicated and determined nine-year-old artist, so patient to individually stitch a collection of handcrafted feathers.
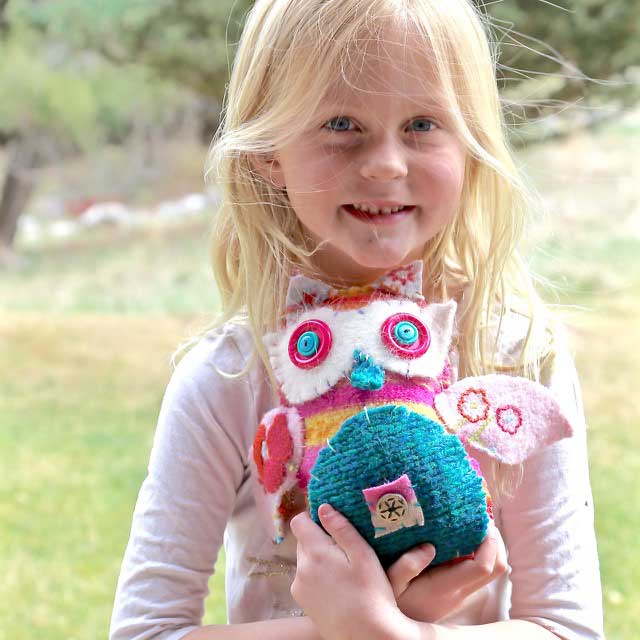
Especially love, with this stitch and sew project, how connected each mini-maker was to their owlet and how individualized each owlet turned out! It was also sweet how each artist named their owlet- Whisper, Penny, Mr. Fluffy Pants, just to name a few. Once owlets were complete, the studio was lit up with beaming smiles and lots of stuffy squeezes! Fly little owls, fly high! Be sure to connect with HANDMAKERY on Instagram + Facebook + Pinterest for art-filled inspiration and thank you for following along!

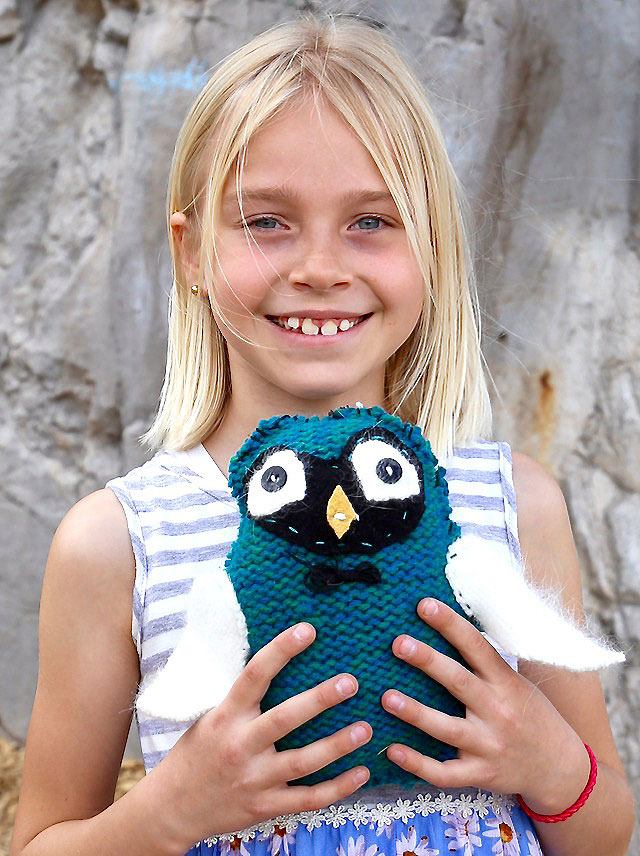
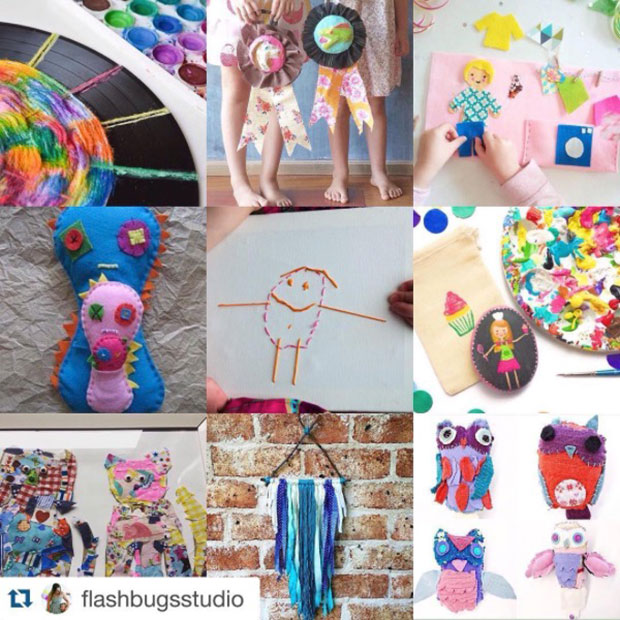
Excited to have our children’s handstitched SPRINGTIME OWLETS featured on KidsCrafts101 for the soft sculpture and #fabriccrafts weekly challenge! Thank you to Red Ted Art + Babble Dabble Do + Incredibusy + Flash Bugs Studio for this opportunity for mini-makers! Take a peek at Kidscrafts101 on Instagram!
