Wall Hangings

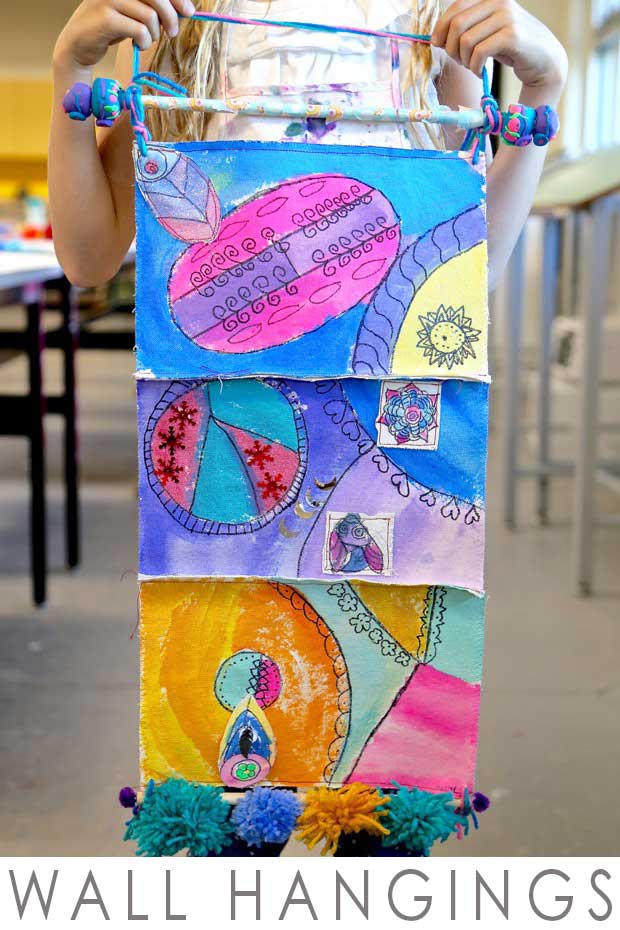
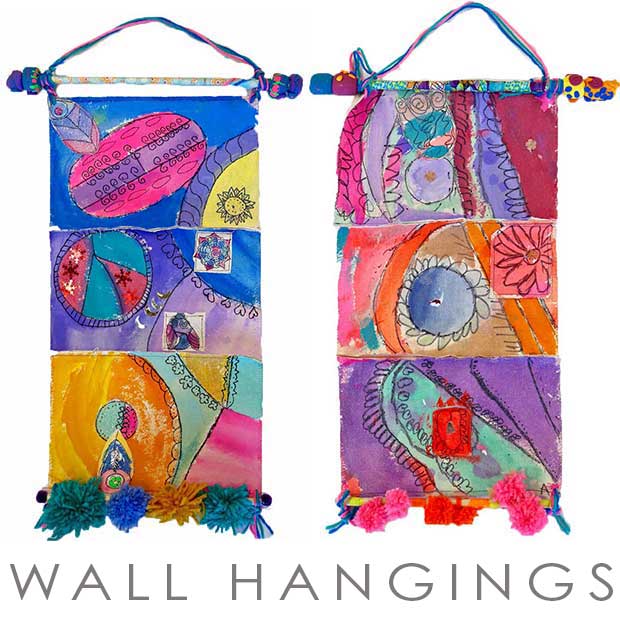
Excited to share with you our whimsical + wondrous WALL HANGINGS that were handcrafted in our MODISH MINI MAKERS workshop, making and creating with 6-9 year old artists! You may have seen a few photos of the process in our collection on Instagram! This project was tons of fun! Such an exciting process experimenting with a wide array of materials + supplies and watching it all come together! Do take a peek!
SUPPLIES
- Canvas fabric + gesso
- Tempera paint + acrylic brushes + pallet + water
- Pencil + ruler + circular shapes to trace
- Permanent marker
- Sewing machine
- Dowel
- Polymer clay
- Yarn
- Sequins + sparkle + washi tapes + white glue
- Low temp glue gun + glue
PROCESS
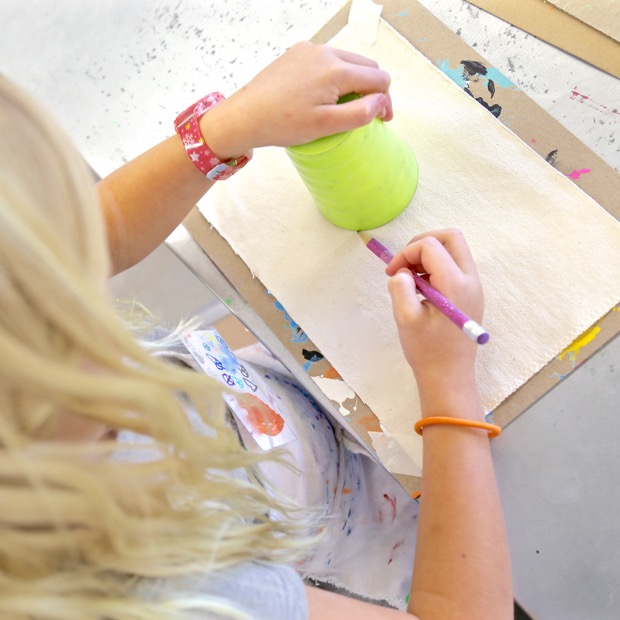
ONE Gesso and dry canvas beforehand. Create an abstract design using pencil. Stick to five main divisions on each horizontal canvas panel. Canvas size can be flexible but we used four pieces at 7 1/4″ x 10 3/4″, three for the triptych and one for added patches. Use a ruler and various circular shapes to guide the abstract composition and design.

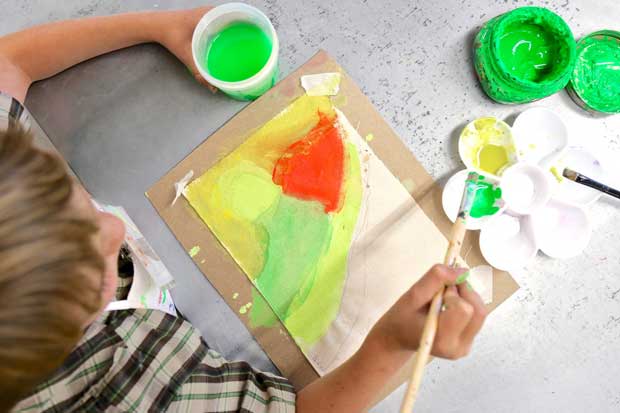
TWO Paint using vibrant tempera paints watered down for a transparent or staining effect.

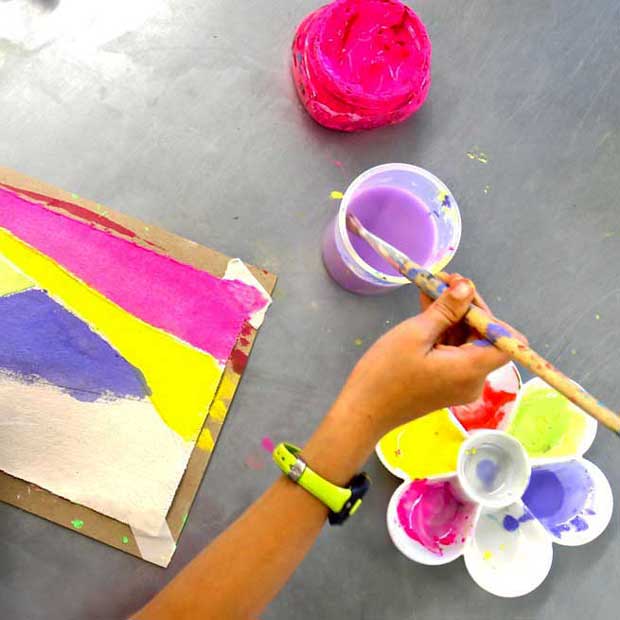
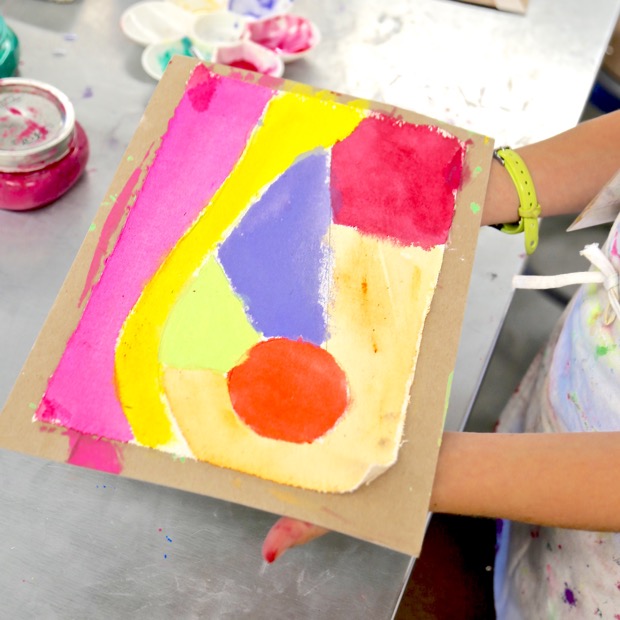
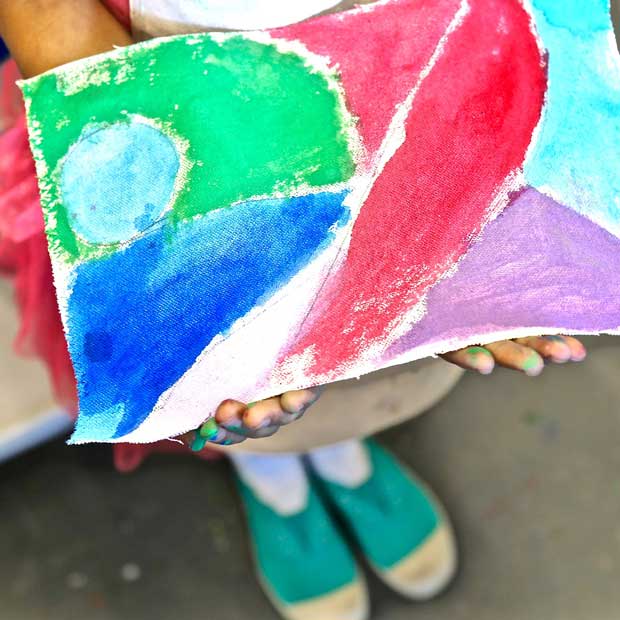

THREE Once all three canvas panels are dry, use permanent black marker to trace over pencil lines. Add repeated patterns and designs, following the main lines created from the ruler and circular stencils, to embellish and personalize.
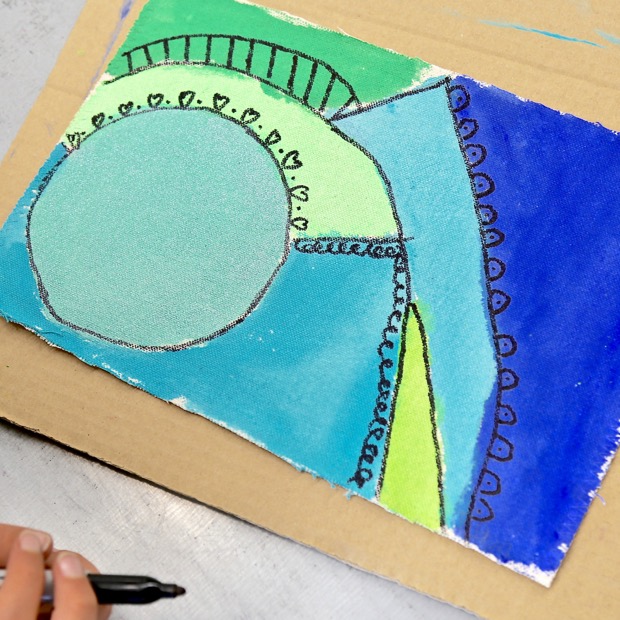


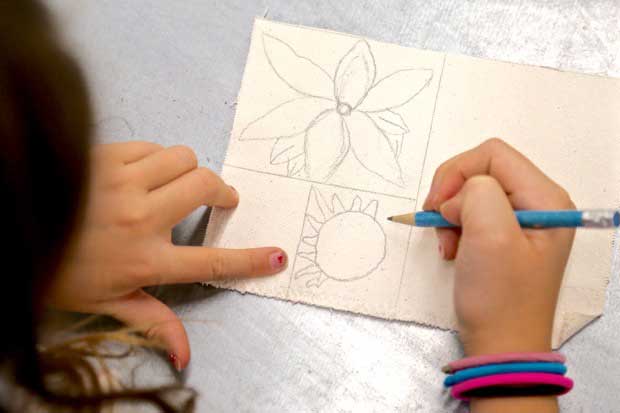
FOUR Use the fourth gessoed canvas panel for patches. Divide this canvas into four various sized boxes for simple drawings. The patches will also be painted, detailed with marker, and cut to shape.
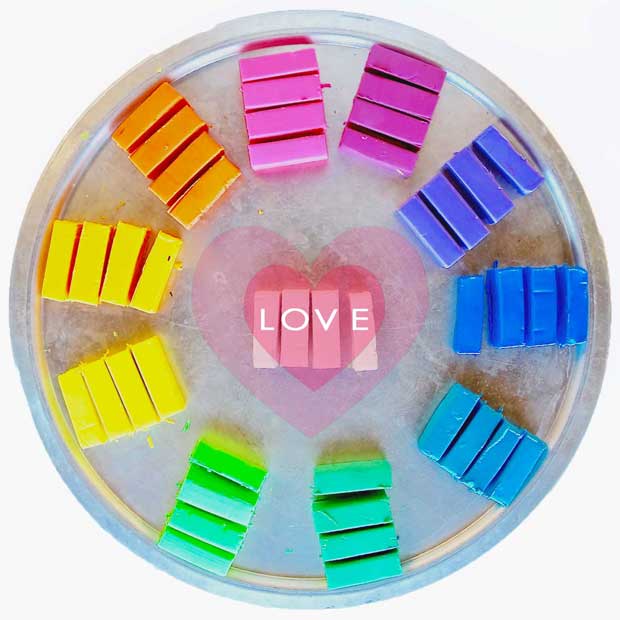
FIVE Use vibrant polymer clay to create two large beads on each ends of the top dowel. Polymer clay comes in blocks that have four divisions. Each artist was given a full block of clay, but in four different divisions or colors of their choice. The artist could use some of their colored clay for details on top of their beads. This clay is easiest when you spend time warming it up with your hands. Sharpened pencils were twisted to make a hole in each bead before placing onto the ends of the dowel, 14 3/4″ top dowel and 11″ bottom dowel were the lengths for our wood pieces. Once beads were put on the dowel, the clay and dowel were baked on a low temp in an oven. A few artists made their dowel symmetrical on each side to keep a beautiful balance. Once these wands were baked, clay was secured with a small amount of hot glue.
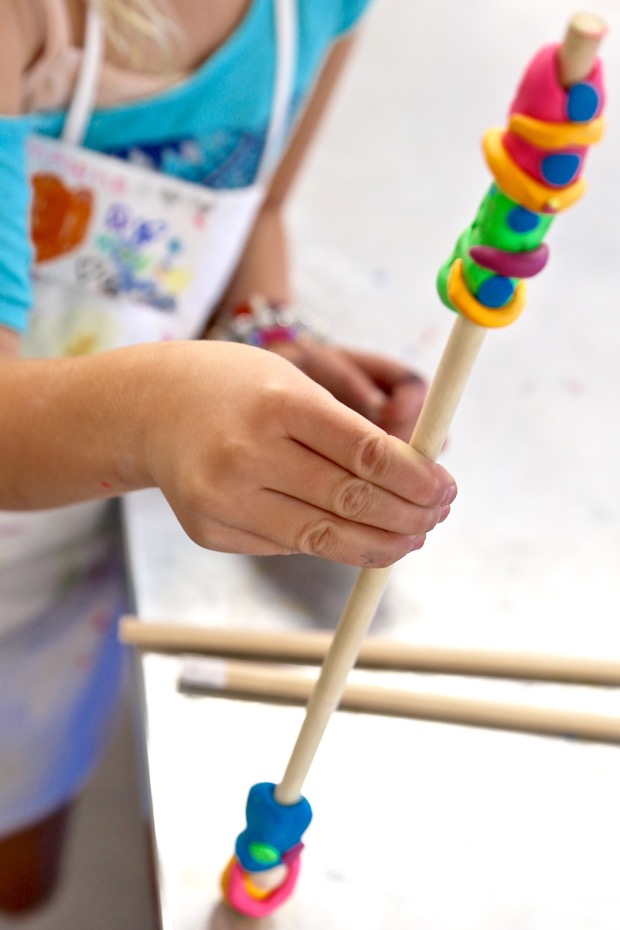

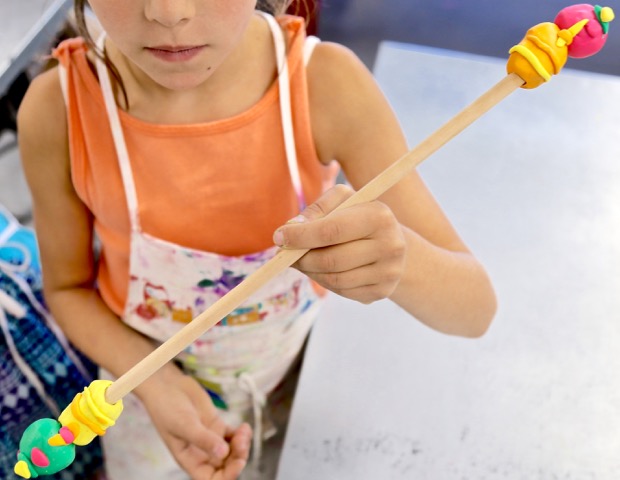
Once the clay beads on the dowels were backed, we snapped up this quick shot so you could see them all together! Love how each bead is so ornate and detailed!
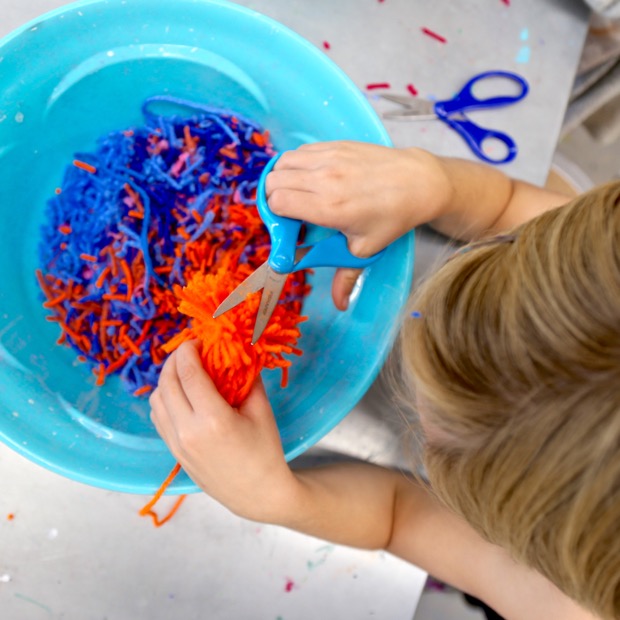
SIX We spent an evening learning the art of making homemade pom poms. For this age, each child used their own hand to wrap the yarn to form various sizes of pom poms. There are several simple online tutorials to learn the art of pom pom making from using your own hand, a fork, cardboard or even purchased pom pom makers. The pom poms were easily tied onto the bottom dowel by keeping two long tails uncut.
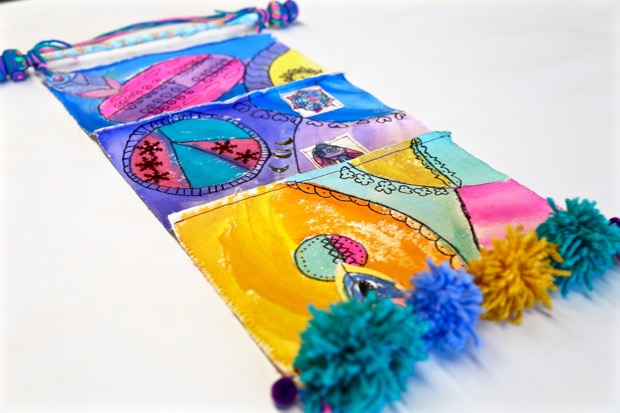
SEVEN Each artist arranged their three canvas panels in a composition that complimented their overall design. Canvas patches were then individually cut and placed on by the artist. Using a sewing machine, we stitched all three canvas panels together and added their placed patches. Using a yarn needle, a hole was poked in each of the four corners. Using three colors of yarn, the top dowel with clay beads was tied on, leaving just enough yarn for hanging purposes. Using the same three colors of yarn, the bottom dowel with handmade pom poms was attached. With young artists, it’s recommended that the sewing and tying together process be completed by an adult or with adult supervision.
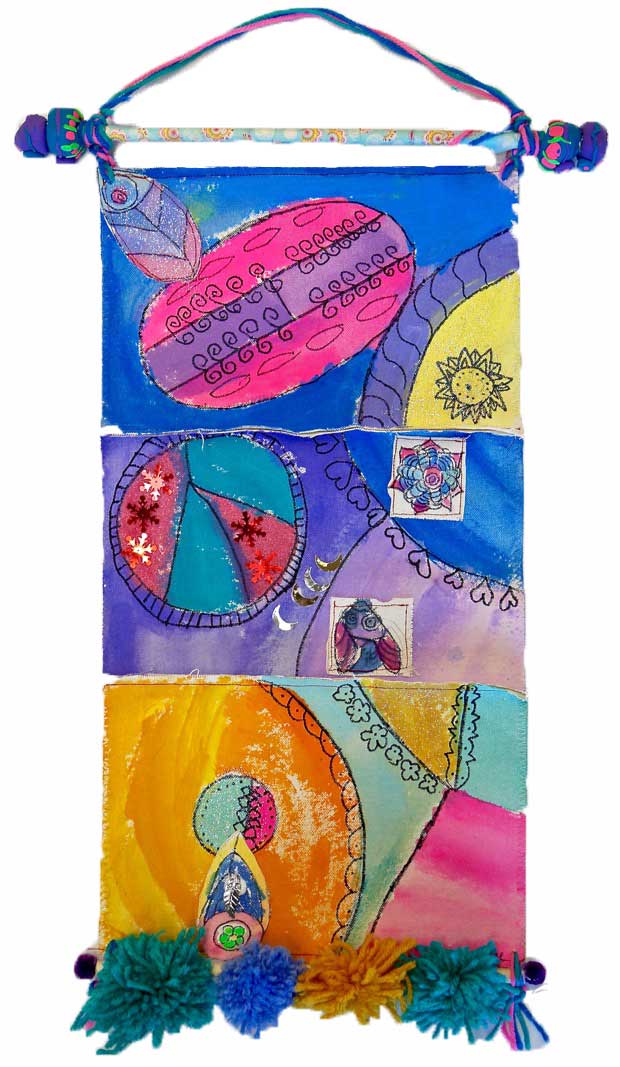
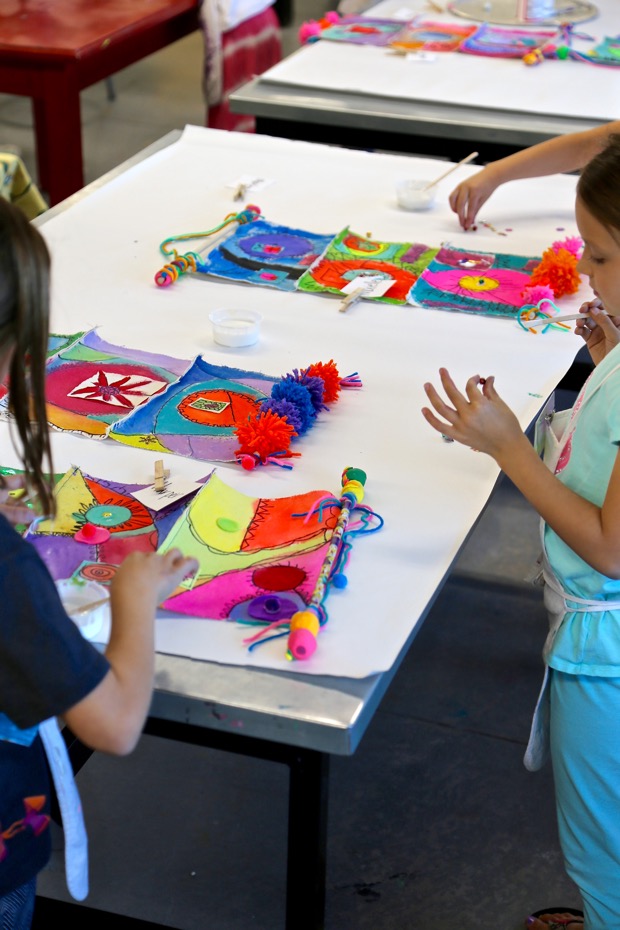
EIGHT Our final workshop together was spent embellishing with sparkle and sequins using white glue. Each artist also used washi tape to wrap their upper dowel for added flair! Each artist was so proud of their individualized wall hanging and really enjoyed the process from start to finish! This project used a wide array of supplies and materials, giving each artist great exposure to a new combination! The style and individuality of each artist really came alive in the process as a whole and was showcased in the display of their one-of-a-kind masterpiece! It was lovely seeing each artist aglow with their whimsical + wondrous WALL HANGING in our mini art show and recognition ceremony on our final night!
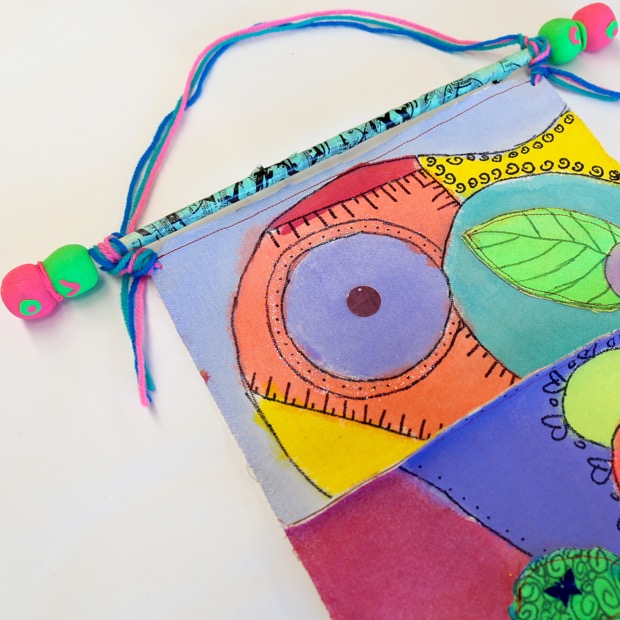
Here is a closeup showing how long lengths of yarn were used to secure the canvas onto the dowel, by wrapping and tying. Here you can also see how many of the children used washi tape on their upper dowel to wrap and personalize their wall hanging. Waalaa! Let us know if you decide to try this process to create your very own whimsical + wondrous WALL HANGING! We have lots of inspiration on our boards over on Pinterest, do hop on over and say H-E-L-L-O!
