DIY Carnival Circus in Colorful Chaos
Happy Back to School! Hope you’ve had a wonderful time slowing down, celebrating, and soaking up summertime under the sun and stars!
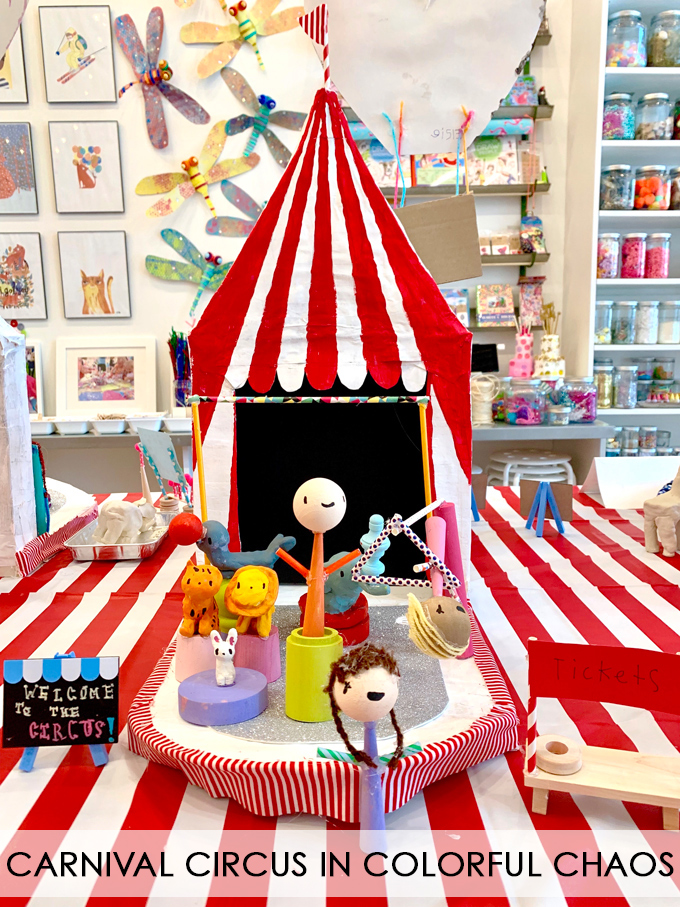
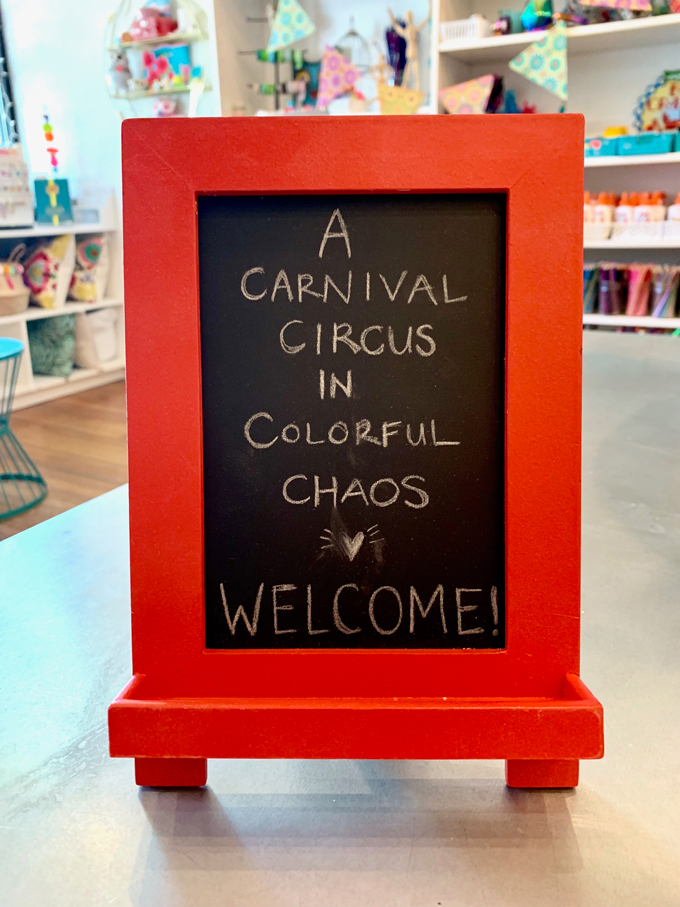
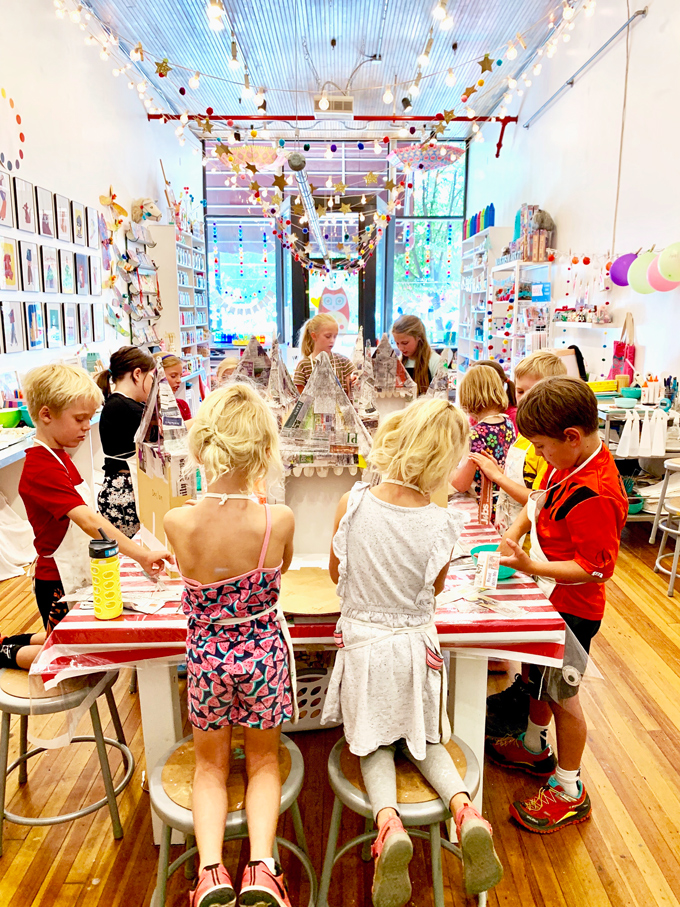
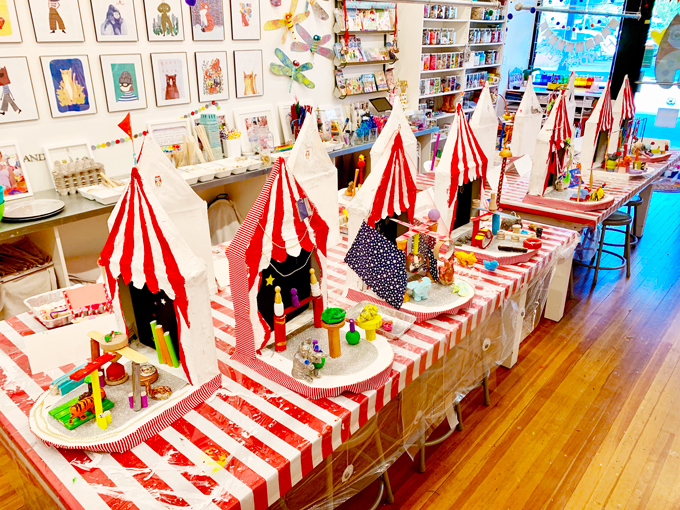
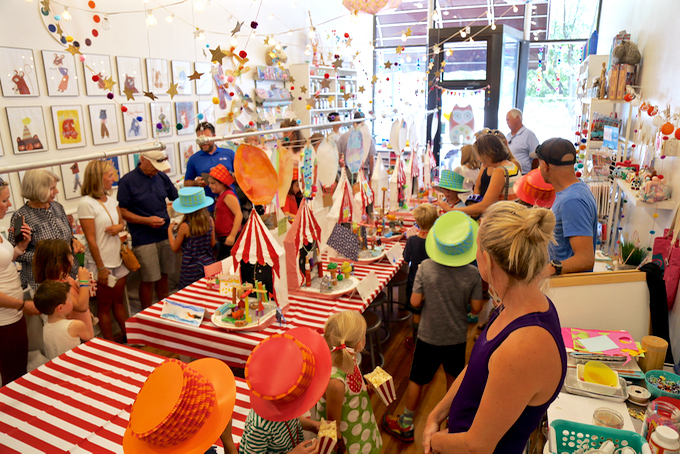
Our studio artists recently showcased ~ A CARNIVAL CIRCUS IN COLORFUL CHAOS! This was our final + full-week workshop of the splendid summer! It was F-U-N and completely filled with construction, creativity, children, color, creatures, cheer, childhood and of course, a teeny-tiny bit of chaos! Take a peek at this delightful process combining circus + carnival + celebration + childhood + construction + collaboration + community + color! We were inspired by Up Warsaw’s beautiful + handmade furniture and wooden circus tents @upwarsaw on Instagram! Be sure to tag @handmakery on Instagram if you give this process-art project a GO! Take a peek below!
ART WORKSHOPS FOR KIDS!
SIMPLY ENROLL:
WORKSHOPS + CLASSES + CAMPS + EVENTS
Early online enrollment is highly encouraged as seating is limited! Start a new school year making + creating + connecting in a colorful community focused on a creative + collaborative childhood!
STAY CONNECTED ON INSTAGRAM @handmakery!
SUPPLIES FOR ~ CARNIVAL CIRCUS IN COLORFUL CHAOS:
- Box with lid
- Dowels
- Thin cardboard
- Cardboard circle pre-cut
- Tape – masking + duct tape
- Scissors
- Newspaper
- Paper-mâché mixture + bowl
- Paint (tempera and acrylic) + pallet + brush
- Clay
- Glues – white glue, cool temp glue gun + glue and hot glue gun + glue {adult use}
- Paper straws
- Pipe cleaners
- String + yarn + wire
- Wood parts and pieces {assortment}
- Wooden peg dolls
Poster board - Sparkle foam
- Fabric
- Paper and markers for signs + flags + garland
- Embellishments- sticker stars, pom poms, and more!
A SIMPLE PROCESS FOR ~ CARNIVAL CIRCUS IN COLORFUL CHAOS:
BUILD + CONSTRUCT
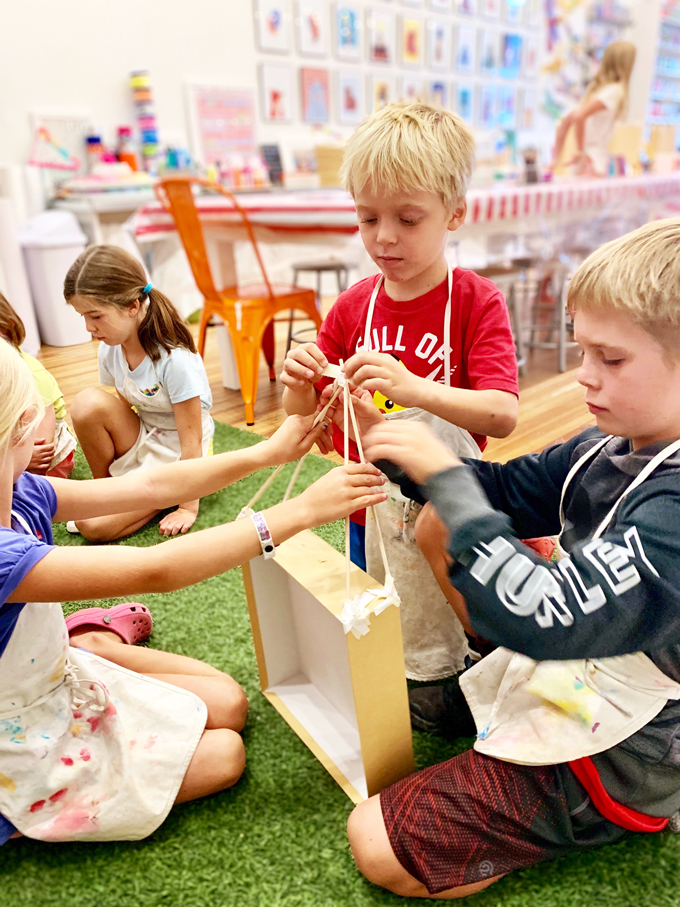
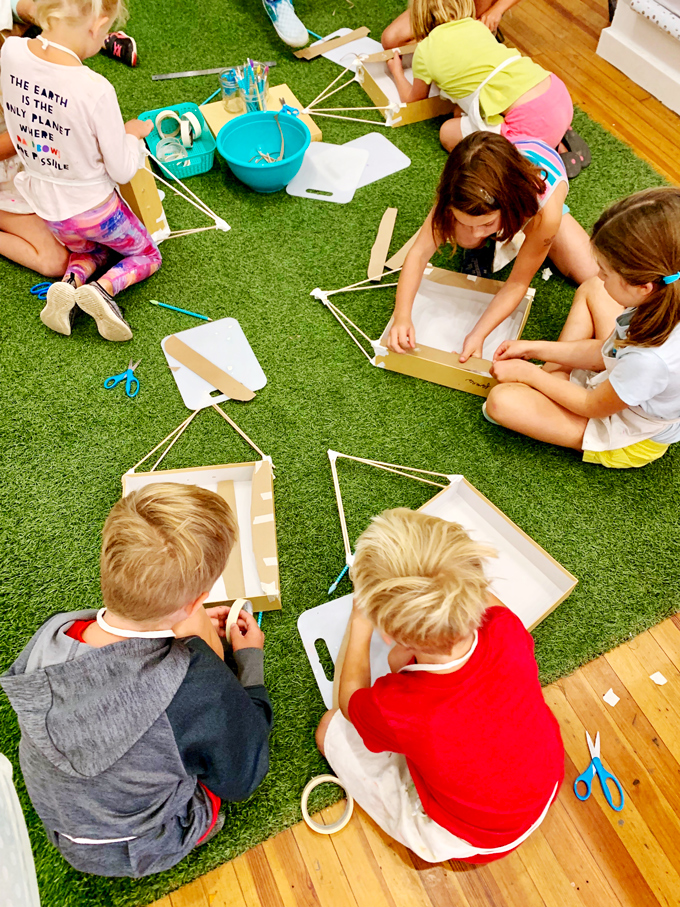
ONE Construct in pairs using 4 – 12″ dowels, masking tape, duct tape, and a 12 x 12″ heavy-weight box with a separate lid, to create an initial structure for the circus tent. All four tent poles should angle towards the center, to connect together at the center point of the tent.
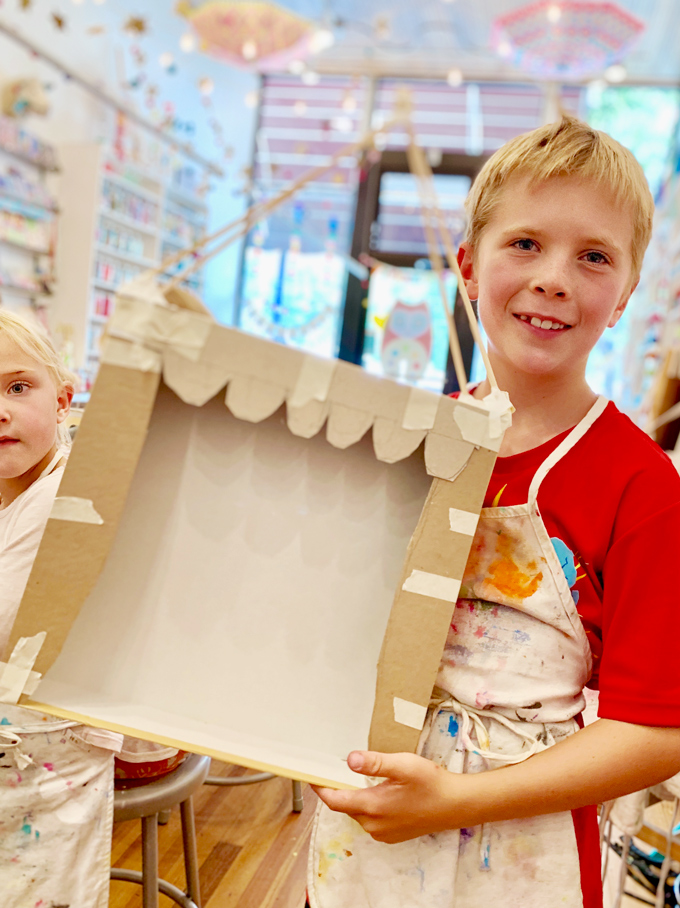
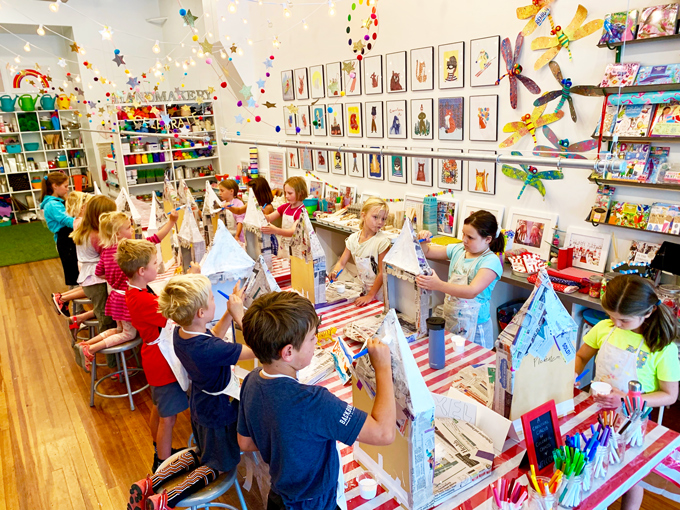
TWO Use light-weight cardboard, ex. cereal boxes, to draw, cut, and create the curtain elements on the upper front and front sides of the tent. The top curtain can be sketched scalloped and cut. Tape all three cardboard pieces onto the box so they’re secure and frame the stage.
THREE Coat the above structure with newspaper and paper-mâché mixture. Dry overnight.
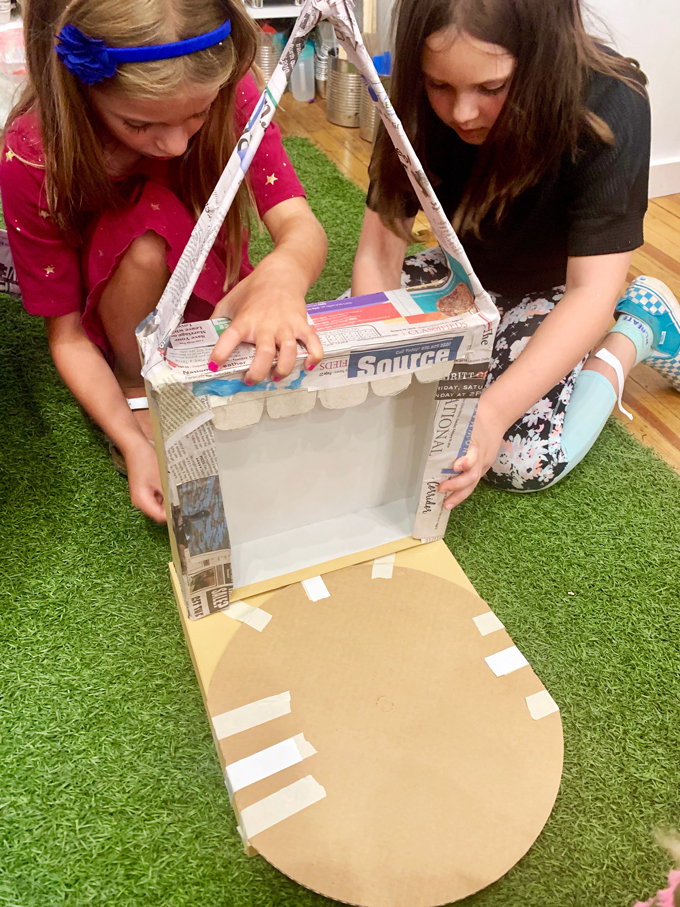
FOUR Use the box lid as the circus stage. Place the dry circus tent onto the stage. Line up the back of stage and box lid so they’re flush. Tape in place using duct tape strips. Add a round cardboard cutout on top and center on the stage. Mark where the circle overlaps the box sides with a pencil. Cut this overlap so the stage sides are squared off and the front only rounds.
FIVE Paper-mâché connection points so the tent and stage become strong and one unit. Paper-mâché all four sides of the upper tent so the dowels are enclosed. Dry overnight.
PAINT + EMBELLISH
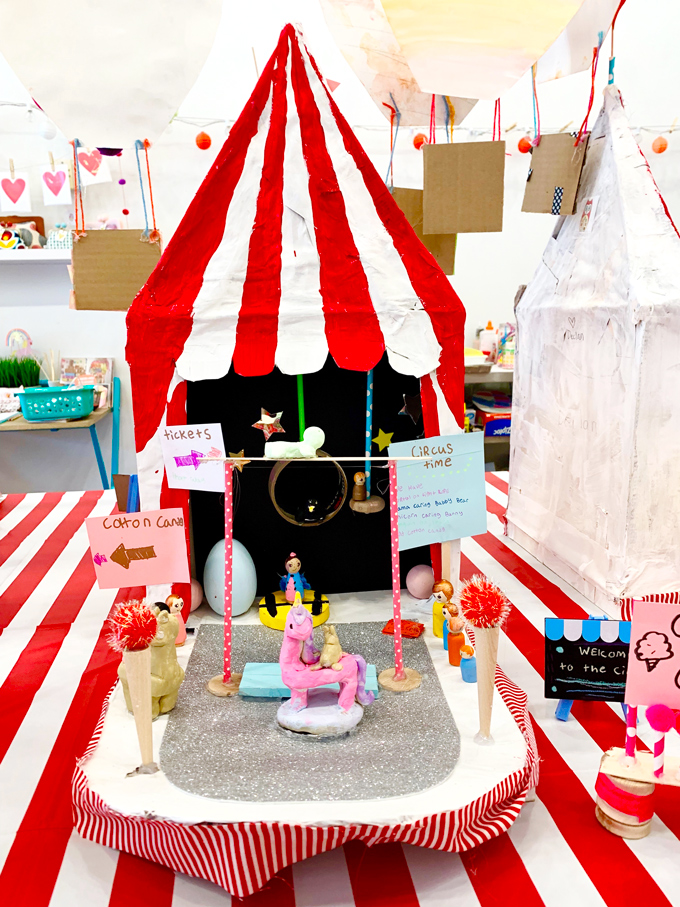
SIX Paint the entire dry tent and stage unit white using acrylic paint to get a solid covering on top of the newspaper. Dry overnight. Use a ruler to draw pencil lines from the center tip of the tent down to each curtain scallop. This will create the red and white divisions for the tent stripes. Mark the red stripes with a light “x” so children know which sections to paint red and which sections to keep white. Use red acrylic paint with a small brush for tent stripes. Encourage young artists to take their time and travel slow to get crisp + clean lines.
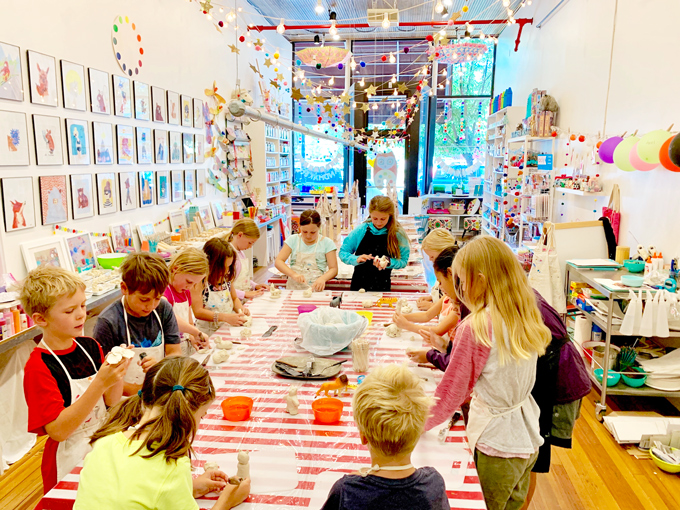
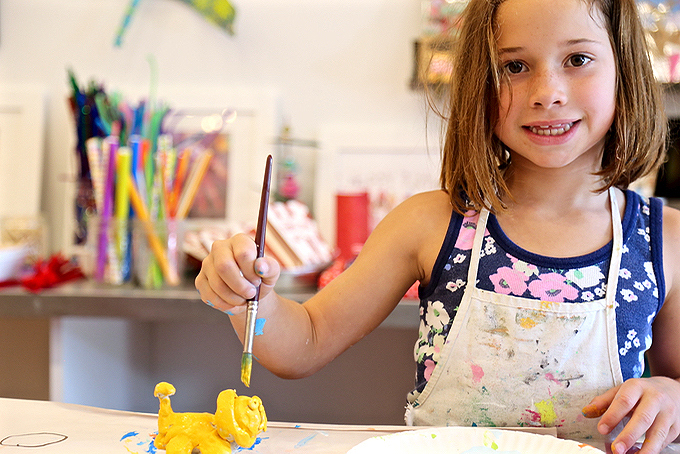
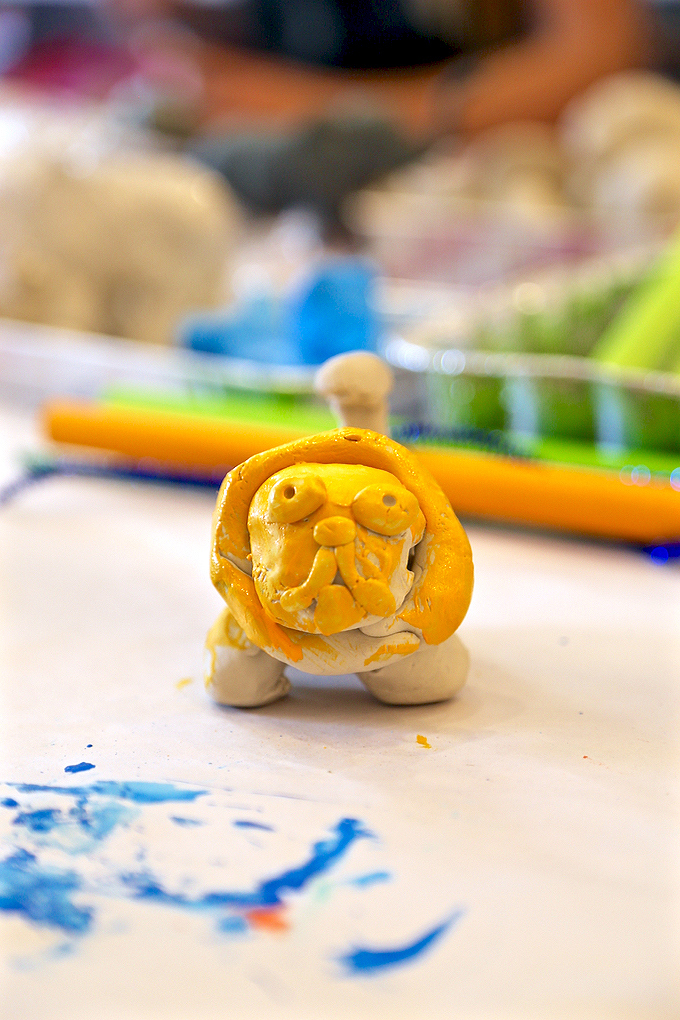
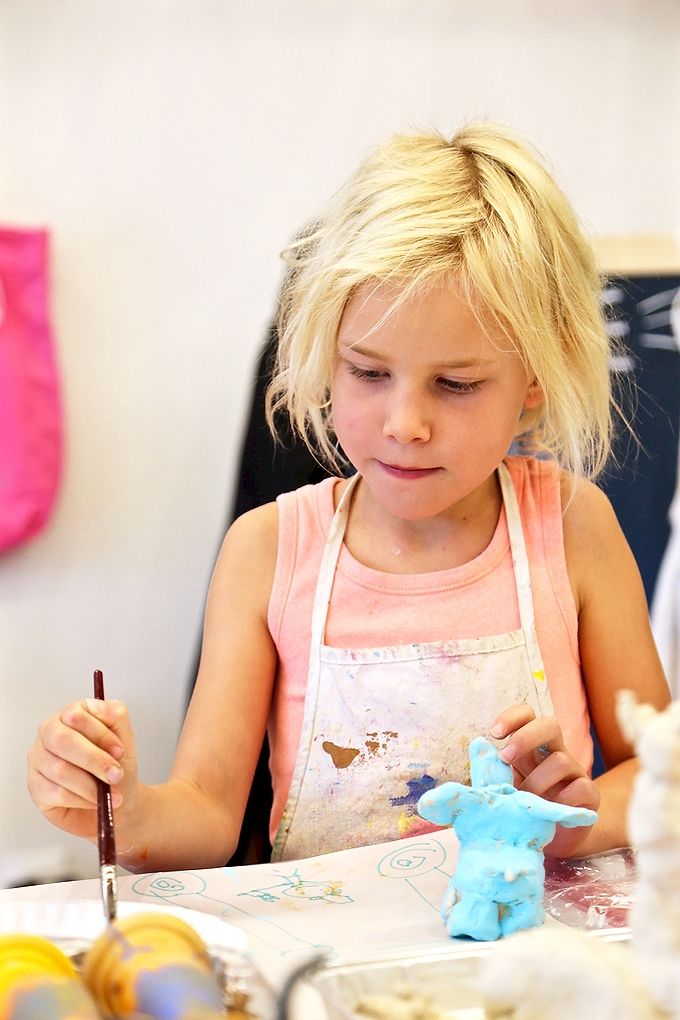
SEVEN Move into dreaming up, sketching, and constructing both carnival and circus creatures using clay. We used an airdry clay to create 3D figures. Dry figures before painting using acrylic paint. Children painted their animals solid before moving into smaller details.
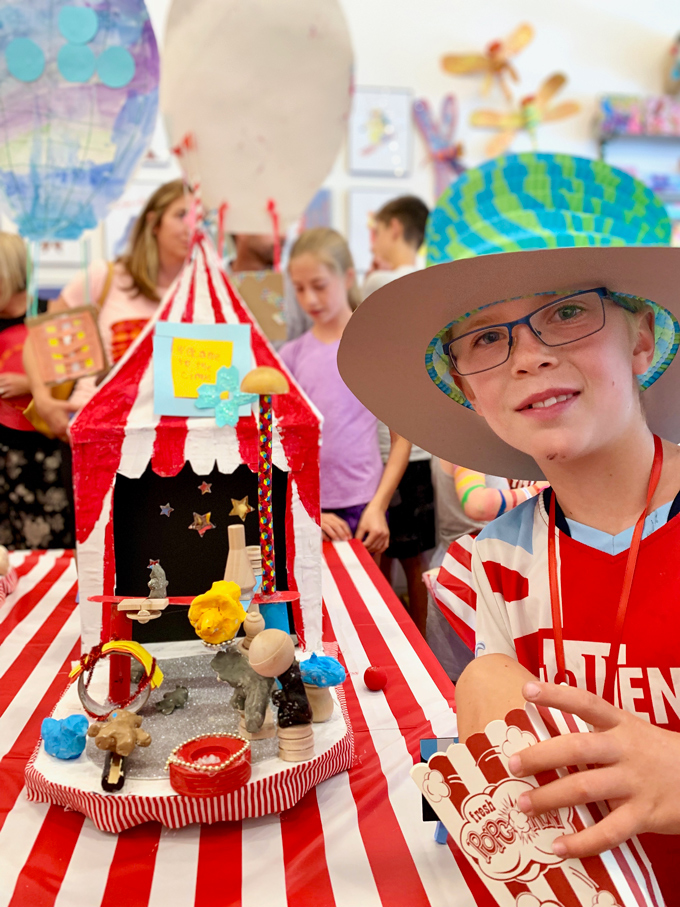
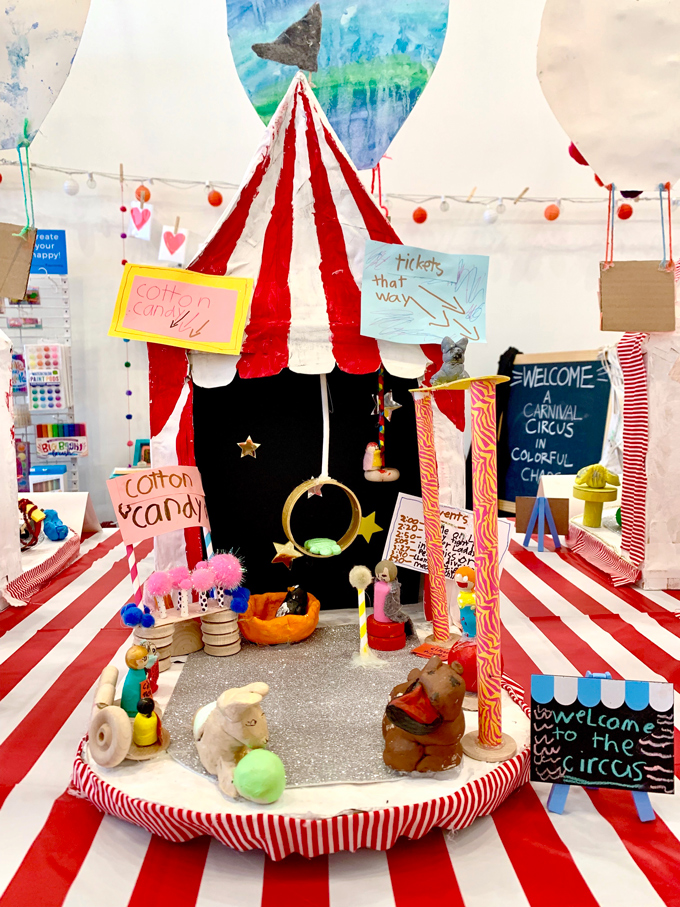
EIGHT Once your circus tent is fully painted and dry, move into stage construction. We precut silver sparkle foam for the stage base and hot glued this piece on top of the spark-
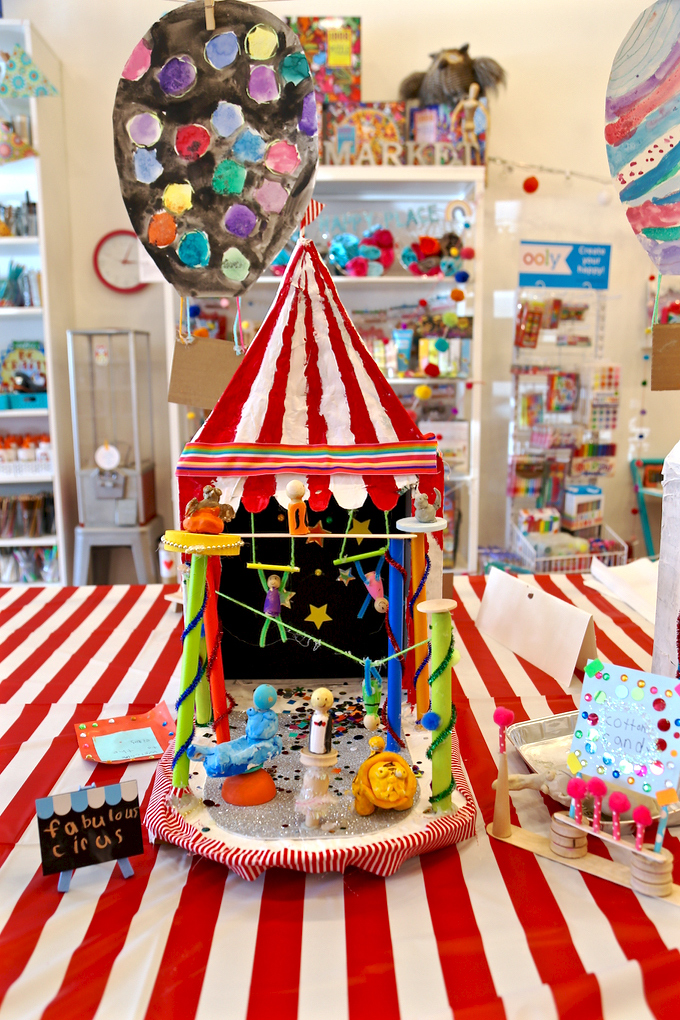
NINE Painted people (aka wooden peg dolls) and creatures were added to the stage to complete the ~ CARNIVAL CIRCUS IN COLORFUL CHAOS! Artist amazed and awed as they created tightropes, trapezes,
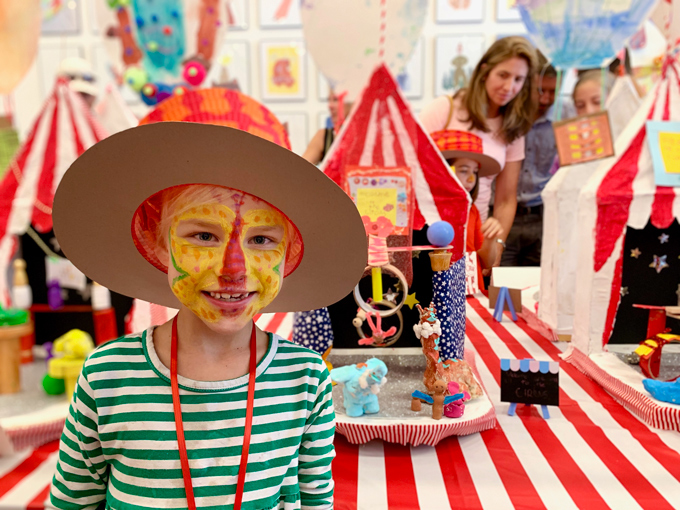
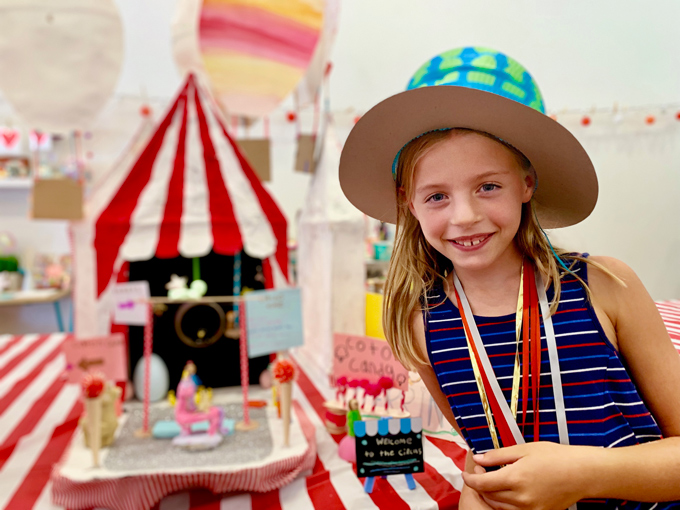
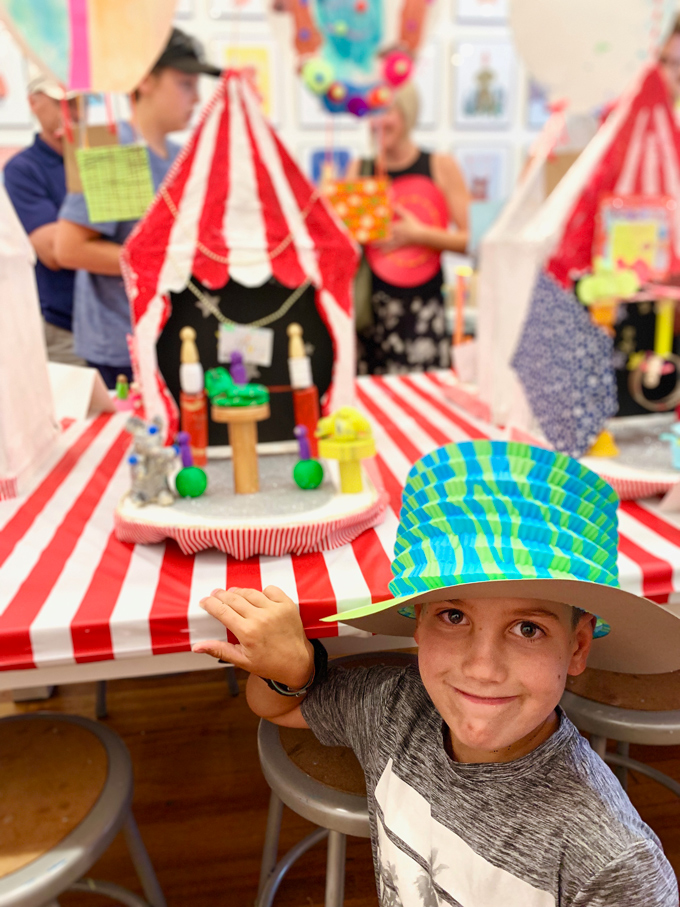
TEN We added face paint, carnival hats, and popcorn to enhance the full-circus experience for our community art show celebration!
How fun are these traditional popcorn boxes!?!
JOIN US AT HANDMAKERY!
Celebrate childhood + creativity + color + community by creating and collaborating!

My artful friend, Bar Rucci, created an incredible DIY ~ Circus Tents Made By Kids (photo above) on her lovely ~ Art Bar Blog and over on Handmade Charlotte for another fantastic way to bring a circus experience into any creative environment! You’ll definitely want to take a peek at this project and ALL her gorgeous goodness by following her @artbarblog on Instagram or visiting her on Art Bar Blog!
Tag us @handmakery with your creations on Instagram! Follow our blog for more inspiring process-based art projects! As always, thank you for following our artful adventure on Main Street in the heART of the Carbondale Creative District! Send us a note anytime! We’d love to hear what you’re thinking, dreaming, and envisioning! Much love and happiness creating in this creative + colorful world, filled with collaboration + connection + community + arts & crafting! Happy School Year! Ami