DIY Papier-mâché Figures

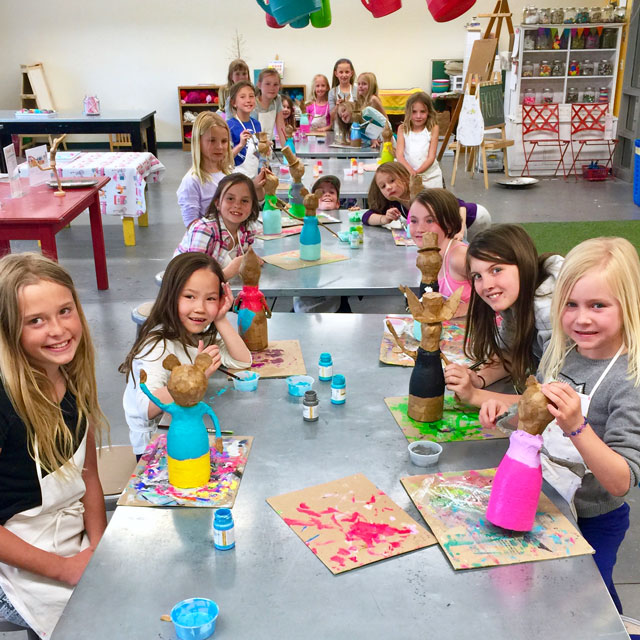
Incredibly excited to share with you our original ~ DIY Papier-mache Figures created in our Mini Makers Workshop with 5 – 10-year-old artists! Our next session of weekly art workshops begins the week of October 16th, YES, next week! We have a workshop for just about every age under the sun! Take a peek at our upcoming schedule filled with weekly workshops, craft nights, holiday camps + events, and celebrations! Excited to announce we’re now hosting birthday parties in our beautiful + NEW art studio on Main Street! Be on the lookout for our first ever ~ Ladies Craft Night coming soon!
 SUPPLIES
- Recycled plastic bottle
- Wire
- Drill
- Masking tape
- Duct tape
- Scissors
- Brown paper bags
- Papier-mâché
- Foil
- Paintbrushes
- Pencil
- Permanent marker
- Acrylic paints
- Glues- gluestick, white glue, hot glue gun
- Paper straws
- Cupcake papers
- Washi tapes
- Embellishments- pom poms, glitter foam, colored felt sheets, buttons, yarn, patterned paper, sparkly pipe cleaners, stars, paper umbrellas and more!
PROCESS

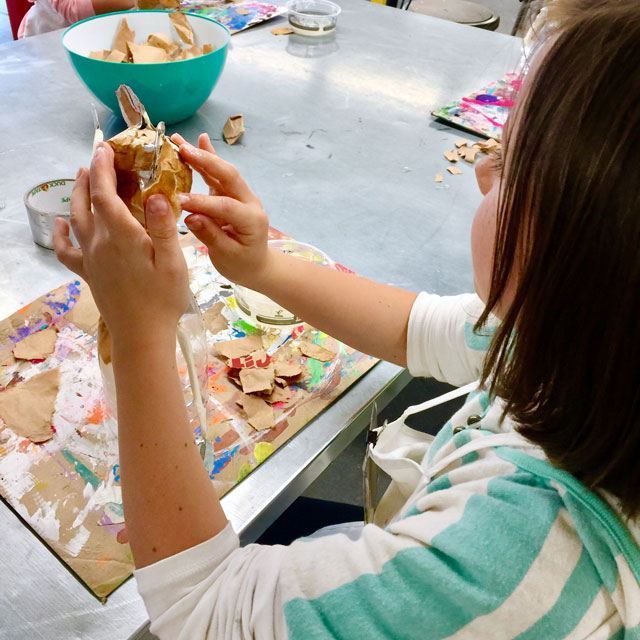
ONE Start with a recycled bottle, we used coffee creamer bottles collected over several months of sipping coffee to start our day. These bottles were very easy to rinse out and store. Begin by completely covering a plastic bottle using torn paper bag pieces, dip in paper mache mixture, and smoothed on. Add three or more layers of paper mache for strength. Smooth. Dry. Using wire, thin cardboard, masking tape, and scissors to create arms, ears, a face, and accessories for your determined character or creature. The bottle needs to be be predrilled for arm wire and secured with tape. Foil or paper can also be used to shape the face. Once your sculptures are solid and secure with masking tape, layer and smooth with additional paper mache. Dry fully overnight.
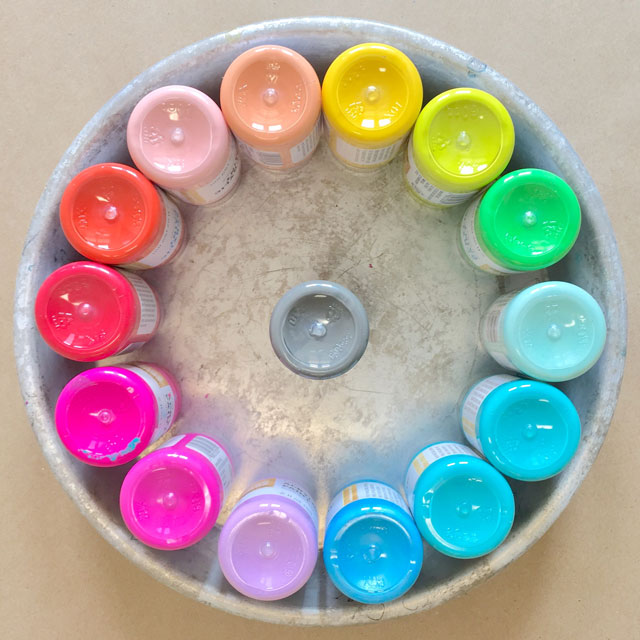
TWO Select a beautiful pallet of color. We used acrylic paints in a gorgeous range of hues.

THREE Here you can see the variety of characters and creatures all featuring expressive gestures! Many creatures have ears, crowns, hats, headpieces, and more to personalize the sculpture. With this project artists started with a vision rather than a sketch so characters could evolve and so artists could be flexible with the direction their figure decided to venture!

FOUR Plan out a color scheme and make a plan for painting your overall piece. Sketch divisions. Start with base colors. Paint. Dry.

FIVE Once the main colors are dried, detail with a smaller brush while exploring pattern repetition and complementing colors. Once dry, use items such as pom poms, cupcake papers, felt, foam, washi tapes, pom pom ribbon, and collage items to embellish with glue. For legs, use patterned paper straws and hot glue. For detail of face, sketch eyes, mouths, and cheeks using pencil and colored pencil on white paper. Carefully cut out and simply attached with gluestick. Secure with a clear coated on top. Add eyelashes and eyebrowls with a fine point permanent marker.
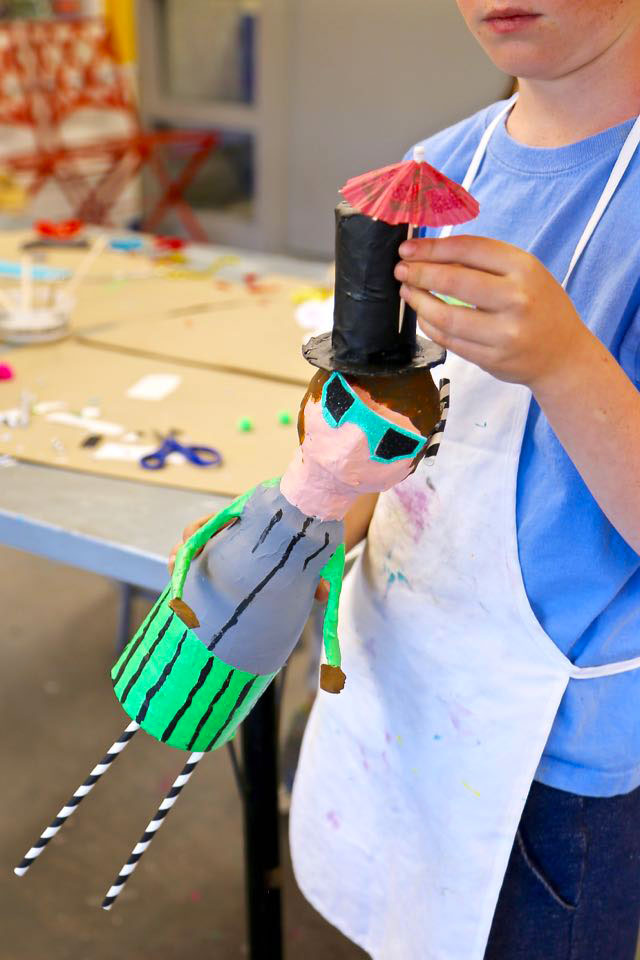
Love the style of this expressive artist and his character with shades + stripes + a side hat!

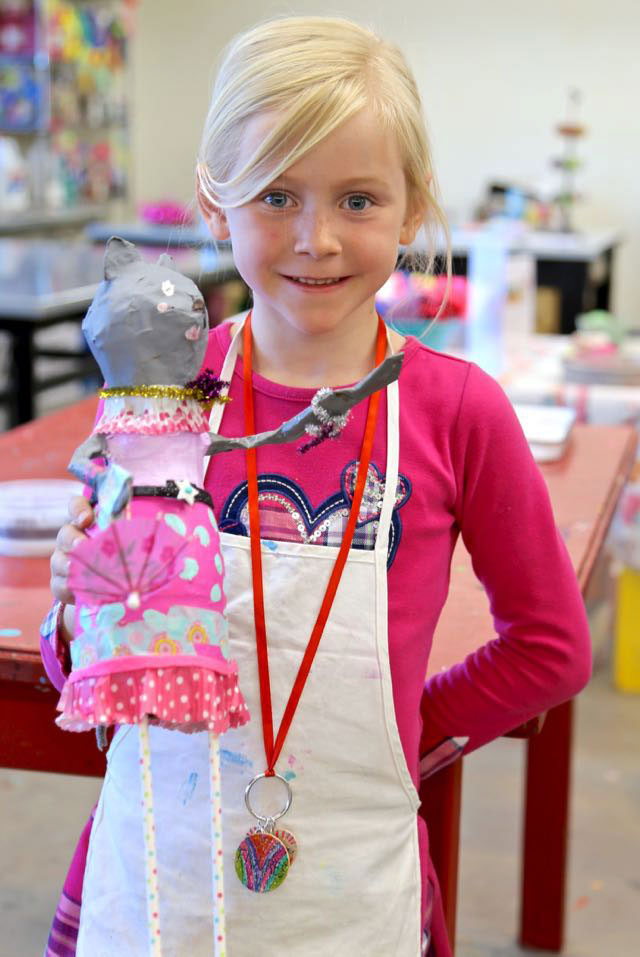
So many sweet details to add! This miraculous mouse makes me go squeak-squeak-eek!!!


Loved the variety of expressive figures in our mini maker collection ~ bunnies, magicians, princesses, queens, mice, and more!

If you decide to use our project for inspiration, we’d would LOVE for you to tag @handmakery on Instagram!
Discover HANDMAKERY on Instagram + Facebook + Pinterest + Mailing List + Enroll via handmakery.com! Look for us in the Fall 2017 Mountain Parent Magazine, celebrating life in the Roaring Fork Valley, Colorado! Come take a peek inside our lovely + NEW + modern + bright + colorful art studio now located at 449 Main Street in downtown + historic Carbondale | CO! Tonight we’ll be celebrating with a mini exhibit + recognition ceremony for all artists in our six week workshop ~ mini House for a Modern Mouse at 5:30 PM in the studio! Come by, take a peek, and say hello! Next round of workshops start next week, October 16th! Join us in the studio for an 8-week Winter-IE WonderLAND session + more! Until next time, keep creating!
